Does Cloud Phone Support HarmonyOS? HarmonyOS Cloud Phone Creation and CLI Tunnel Setup Tutorial
Does a Cloud Phone Support HarmonyOS? The Short Answer
Many HarmonyOS users ask the same question: can a cloud phone actually run on a HarmonyOS device? The short answer is yes. Mainstream cloud phone services — including ccloudphone — run Android-based instances in the cloud, and HarmonyOS was built to stay compatible with the Android app ecosystem. On most HarmonyOS phones, you can sign in through the web console or an Android client and get essentially the same experience as on an Android device.
One caveat: the newest HarmonyOS NEXT (5.0) no longer runs Android APKs directly. For those devices, simply use the web console in your browser — you can still create instances, install apps, and handle daily management without limitations. In short: whether your device runs an older HarmonyOS, NEXT, or Android, there is always a working path.
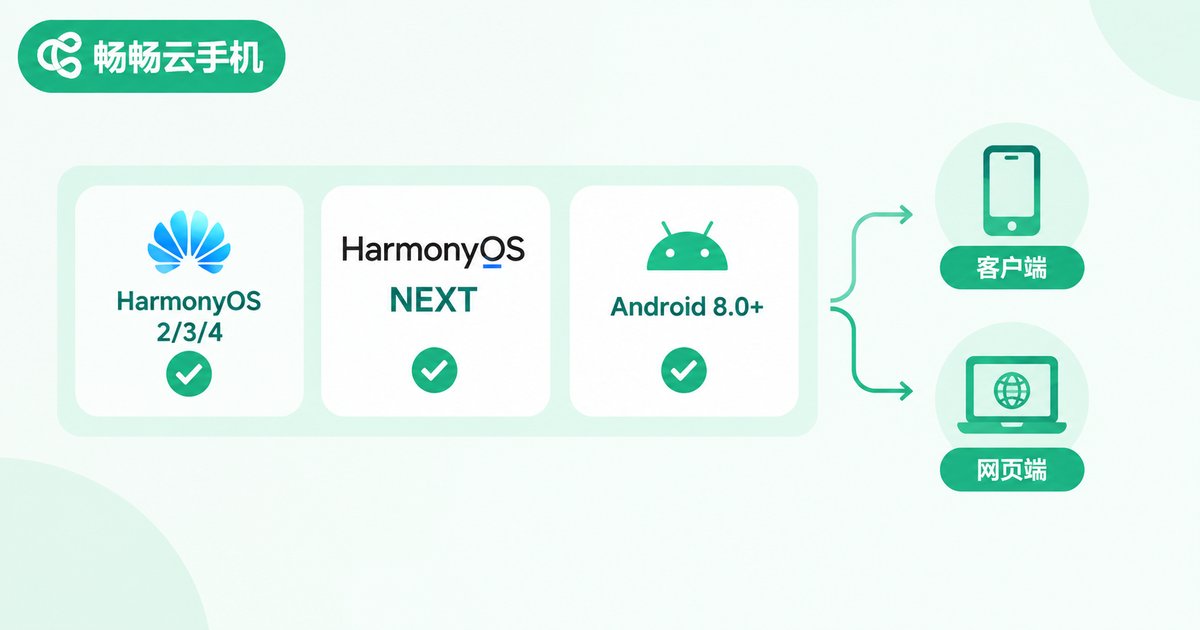
HarmonyOS Version Compatibility Chart
| Your device system | Android APK support | Recommended access |
|---|---|---|
| HarmonyOS 2 / 3 / 4 | Supported | Client or web console |
| HarmonyOS NEXT (5.0) | Not supported | Web browser |
| Android 8.0 and above | Supported | Client or web console |
Easy rule of thumb: if your device can install Android apps, use the client; if not, use the browser. Both paths lead to the same cloud instances, with data synced in real time.
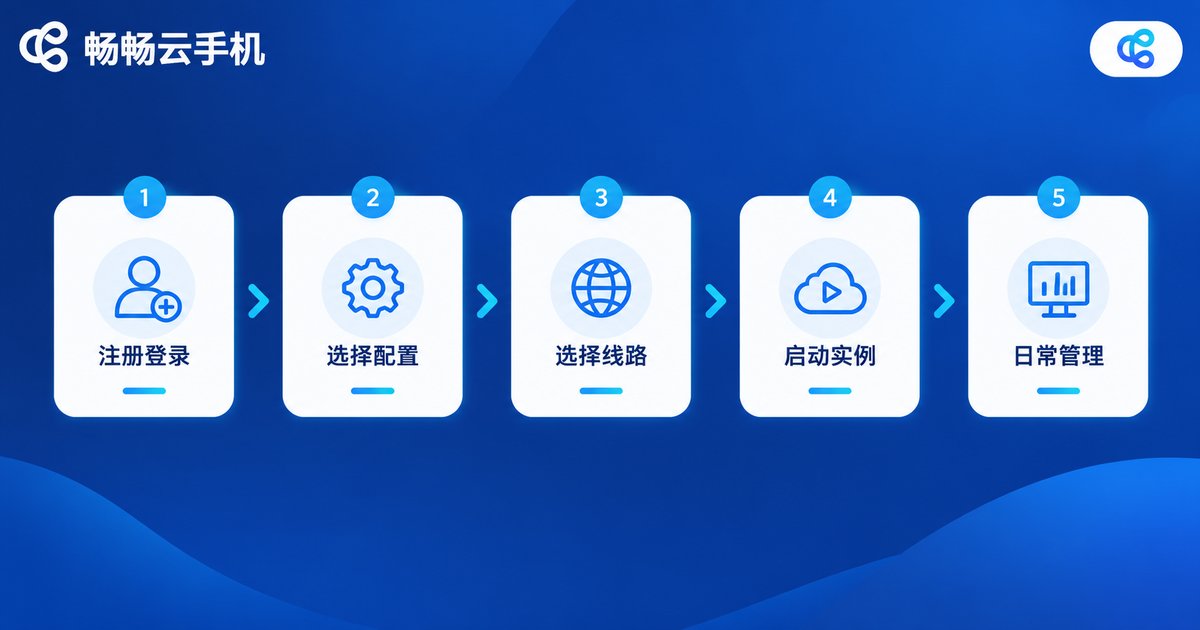
Creating a Cloud Phone on HarmonyOS: 5 Steps
Now for the hands-on part. Using ccloudphone as an example, creating a cloud phone from a HarmonyOS device takes only a few minutes:
Step 1: Sign up and log in. Open the official ccloudphone website in your phone’s browser, register an account, and log in to the console — no extra setup needed.
Step 2: Choose a configuration. Click “Create Cloud Phone” and pick a profile that matches your use case: basic profiles are fine for idle running and light multitasking, while large games or many accounts deserve a high-performance profile for smoother visuals.
Step 3: Pick a server location. Choose a node close to you for lower latency; you can switch later if your needs change.
Step 4: Launch the instance. After creation, tap start and within seconds you will see a complete “cloud phone” screen. It behaves like a real phone: arrange icons, install apps, and sign in to accounts as usual.
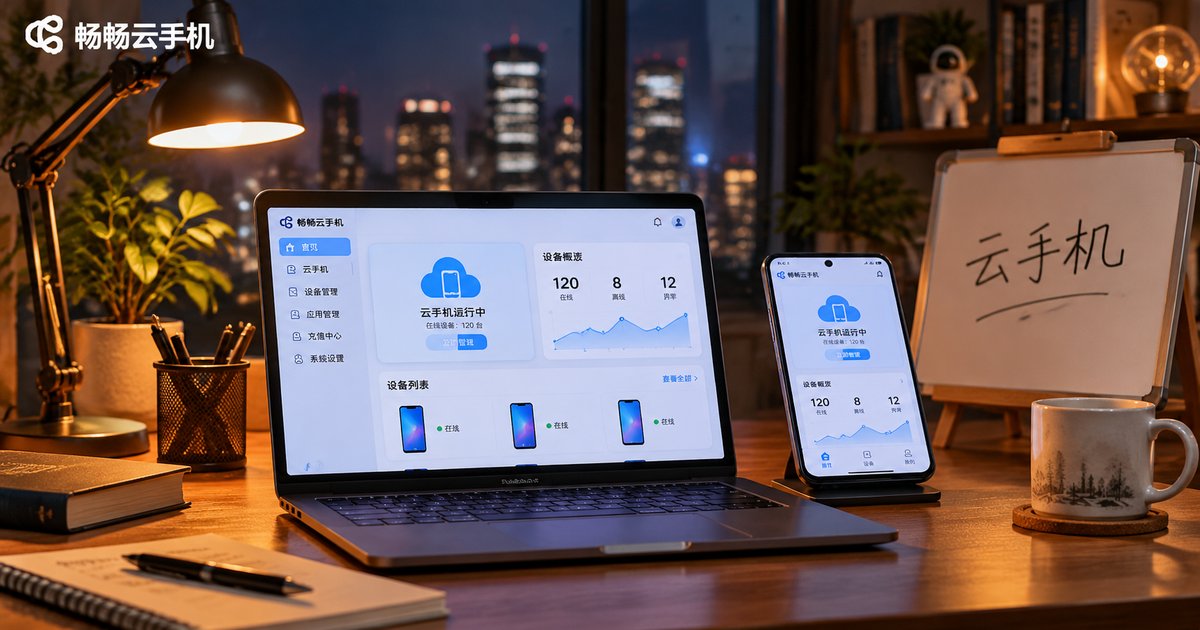
Step 5: Daily management. From the console you can restart, shut down, upgrade, or delete instances at any time and manage multiple devices in one place. Switching phones or reinstalling systems never affects your cloud data.
What Is a CLI Tunnel, and Who Needs It?
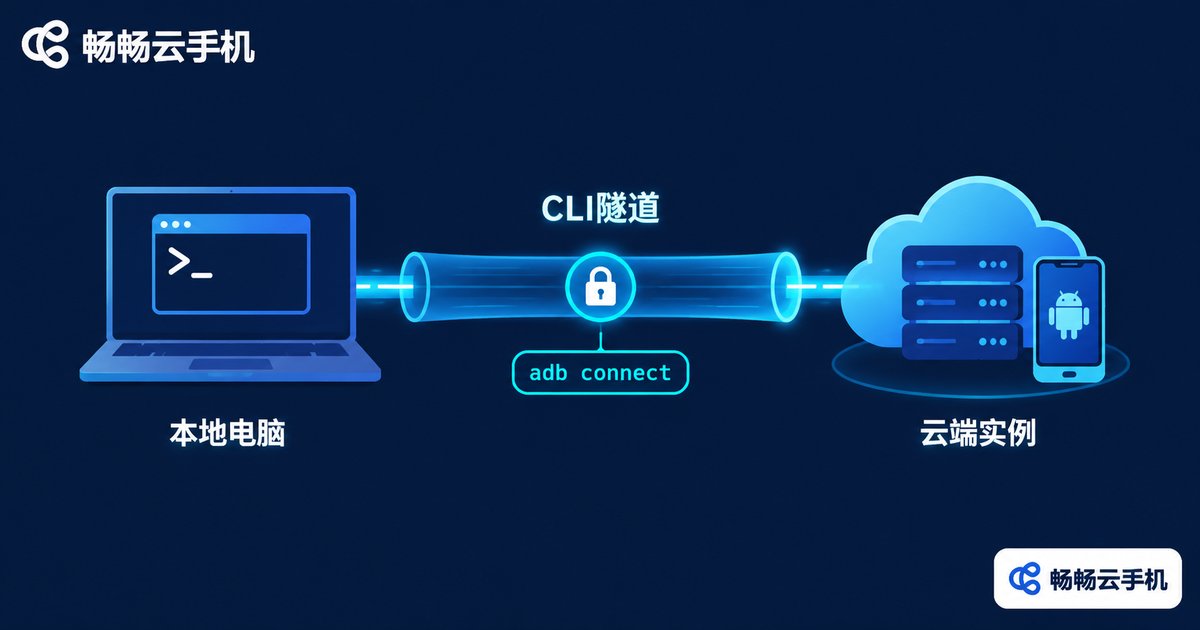
The sections above cover “using a cloud phone from your phone”. A CLI tunnel is the advanced way to “control a cloud phone from your computer”. CLI stands for command-line interface; the tunnel opens a direct channel between your local computer and the cloud instance so your terminal can connect to the cloud phone like a real device. Three typical scenarios:
1. Automation debugging: run automation scripts locally to control apps inside the cloud phone. 2. Development testing: connect to the cloud device as if it were a physical test phone. 3. Batch operations: when managing dozens of instances, the command line is far more efficient than tapping screens one by one.
Everyday users are fine with the web console and client; but if you are a developer or manage devices at scale, CLI tunnels deliver a clear efficiency boost.
CLI Tunnel Tutorial: Connecting Local and Cloud in a Few Commands
Using ccloudphone as an example, here is the basic workflow for establishing a tunnel (for the latest command syntax, refer to the official documentation):
# 1. Install the CLI tool
npm install -g ccloudphone-cli

# 2. Log in and complete authentication as prompted
ccloudphone login

# 3. List instances and copy the target instance ID
ccloudphone phone list

# 4. Create a tunnel mapping the cloud instance port to localhost
ccloudphone tunnel create --phone INSTANCE_ID --port 5555

# 5. Verify the local connection
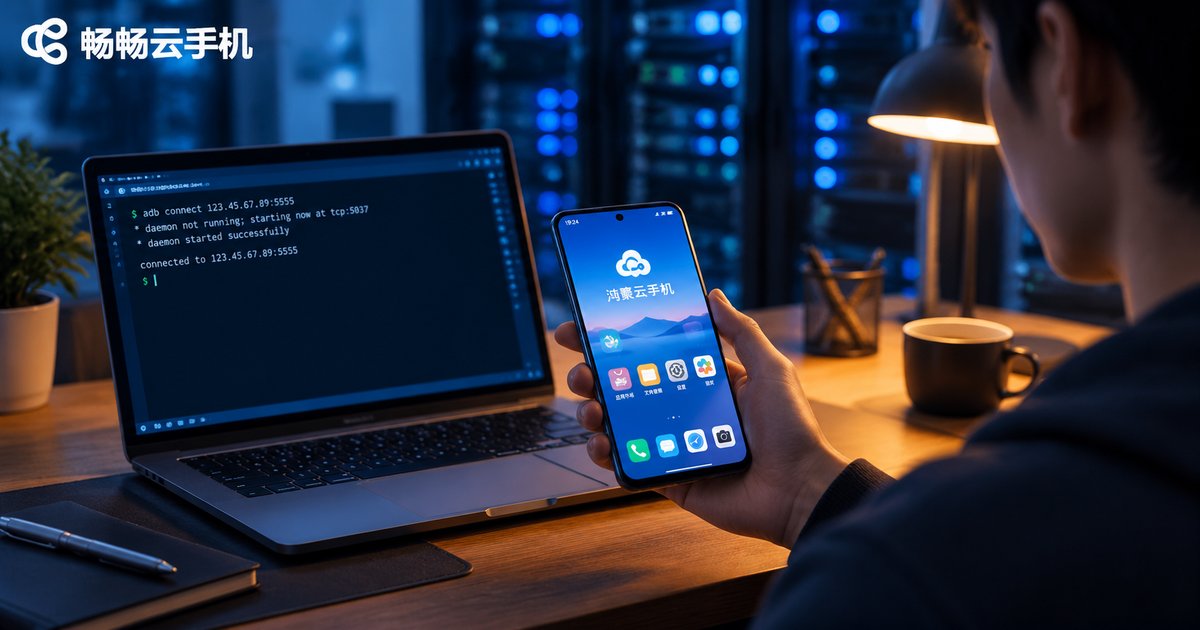
adb connect 127.0.0.1:5555
On success, the terminal returns the tunnel address and status, and your local tools can control the cloud phone like a real device. When you are done, run ccloudphone tunnel close to disconnect and free local resources.
Three common pitfalls: install adb and configure environment variables in advance; avoid port conflicts with other local services; and make sure the instance is running — you cannot open a tunnel to a powered-off device.
Why Choose ccloudphone
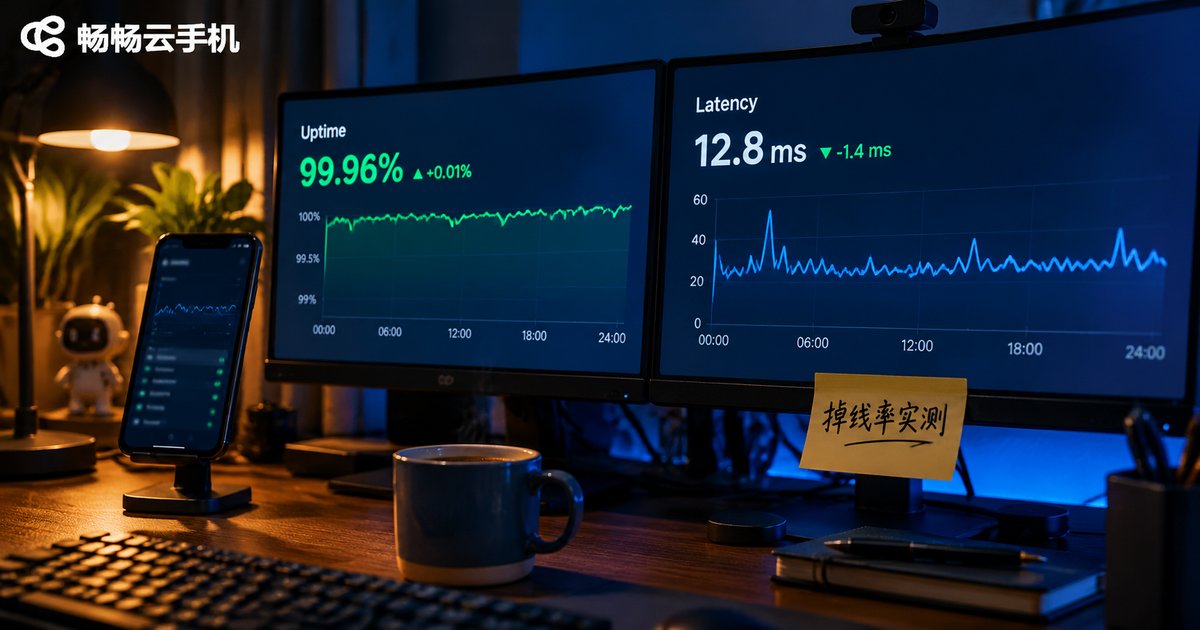
On the two points that matter here — HarmonyOS compatibility and developer tooling — ccloudphone keeps things simple: the web console works smoothly in HarmonyOS browsers, instance creation is straightforward, and a command-line toolchain is available for tunnels, automation, and debugging. Instances support multi-opening and centralized management, so whether you run a single phone for idle tasks or dozens as a studio, there is a setup that fits. Interested? Just sign up on the official website and try it yourself.
FAQ
Q: Will a cloud phone lag on a HarmonyOS phone?
Performance depends mainly on your network and the cloud configuration, not on whether the phone runs HarmonyOS or Android. Pick a nearby node, keep the network stable, and choose a higher-tier profile for demanding apps.
Q: What about HarmonyOS NEXT users?
Just log in to the console through a web browser — creating and managing cloud phones works exactly as usual.
Q: Is cloud phone data shared with my local phone?
The cloud phone is an independent device running in the cloud. Your data lives in the cloud, survives phone switches and system reinstalls, and can be taken over anytime by logging into the same account.
Q: The CLI tunnel won’t connect — how do I troubleshoot?
First confirm the instance is running, then check your local network and port usage, and finally run tunnel create again.
Q: How many cloud phones can one account run?
Multiple instances and centralized management are supported; the exact limit follows what the console displays and can be scaled as needed.