How to Connect a Cloud Phone to Your PC: Desktop Setup, Screen Mirroring and File Transfer Guide
Why Connect a Cloud Phone to Your PC
A cloud phone is essentially an Android device running in the cloud. Tapping around on a small phone screen is fine for quick checks, but the moment you need multi-instance management, long unattended sessions, bulk message handling or office collaboration, that small screen becomes a bottleneck.
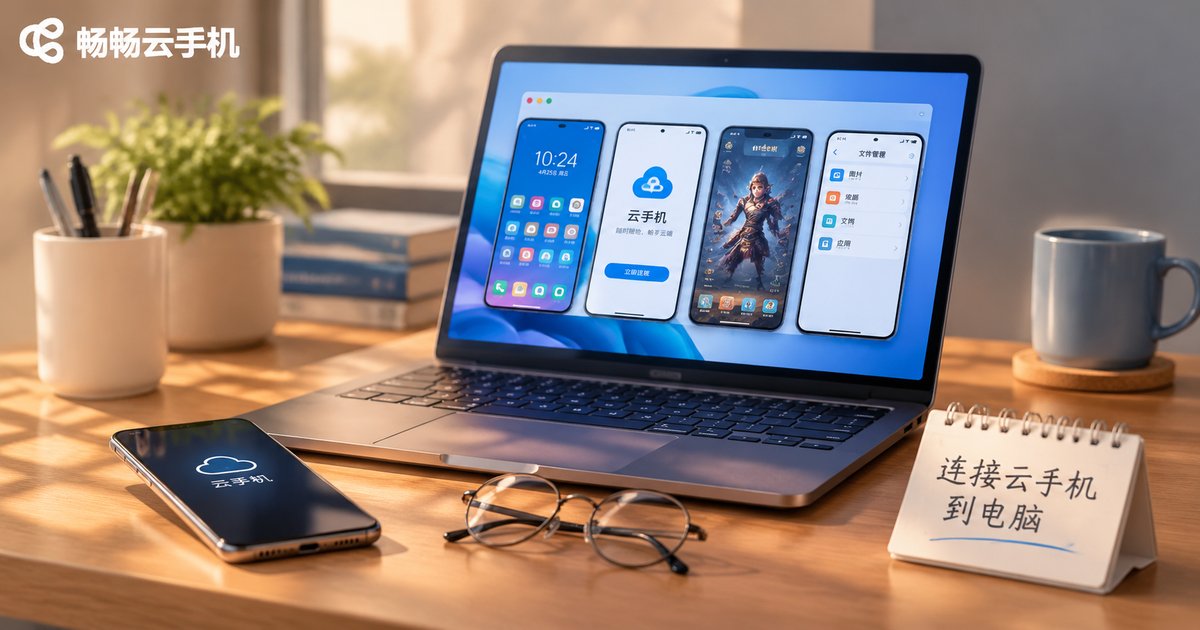
Connecting a cloud phone to your computer brings three immediate benefits. First, a large display lets you tile several cloud phone screens side by side instead of switching back and forth. Second, a mouse and keyboard replace finger taps, so typing text, filling in forms and replying to messages is far faster. Third, local files can be dragged straight into the cloud, which saves you from the endless loop of sending things to yourself through a chat app.
Three Ways to Connect, Compared
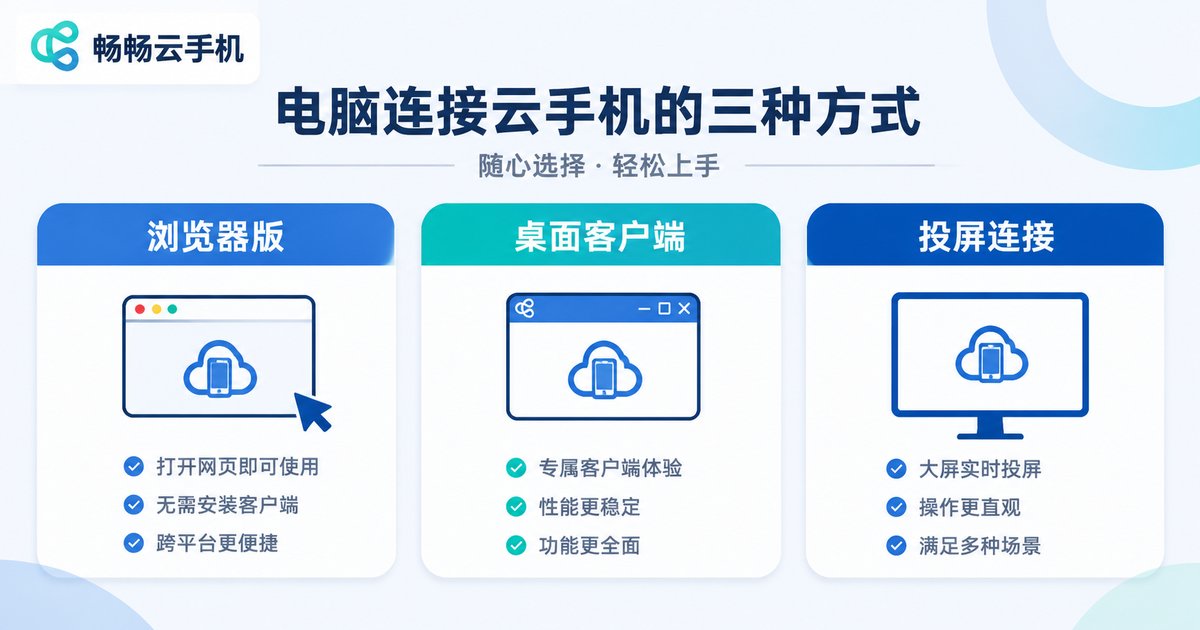
Before you start, work out which method fits you. The effort involved varies quite a bit, and picking the wrong one can cost you an hour of confusion.
| Method | Best for | Advantages | Things to note |
|---|---|---|---|
| Browser version | Occasional use, Mac or Linux users | No installation, just log in | Depends on browser performance; a Chromium-based browser is recommended |
| Desktop client | Long-term multi-instance and idle-running users | Smoother multi-window management, faster launch, can start with the system | Requires a download; always get the installer from the official site |
| Screen mirroring to a big screen | People who just want one screen enlarged | Clear picture, low latency, immersive | Usually shows only one instance at a time |
Most users actually need multi-instance plus long online sessions, so the desktop client is the first choice, with the browser version serving as a backup when you are away from your main machine.
Desktop Installation in Five Steps
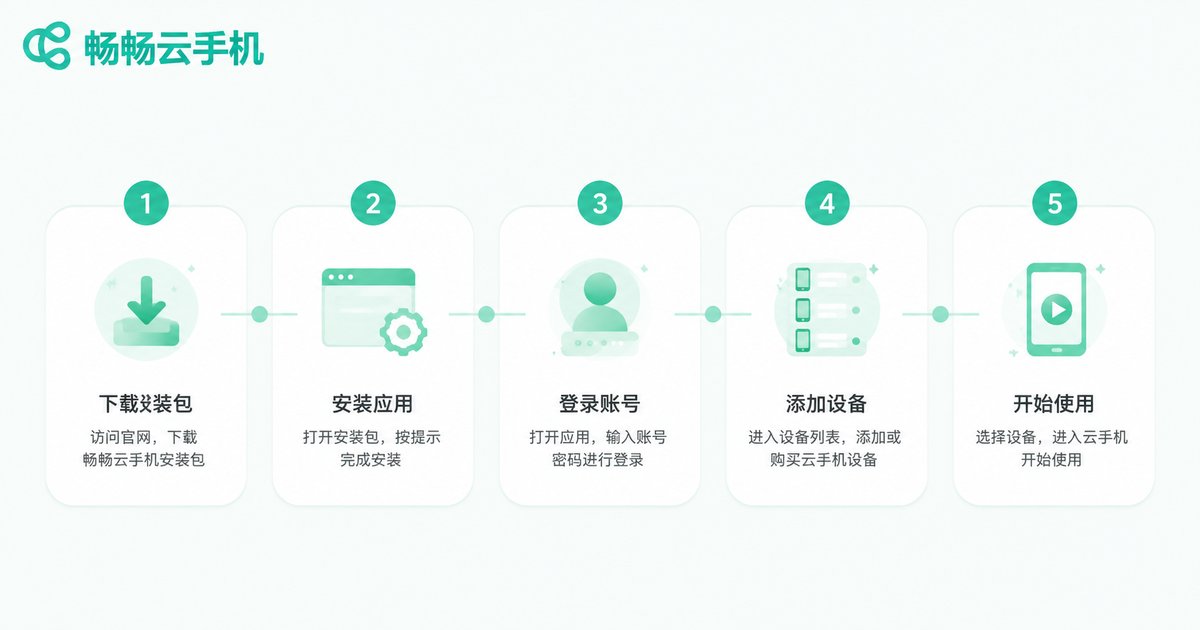
Taking ccloudphone as an example, the whole installation is straightforward if you follow the order:
Step 1: Open your browser, go to the official ccloudphone website, register an account and sign in.
Step 2: Find the desktop entry on the official site and download the Windows client installer. Mac and Linux users can simply use the browser version instead of forcing a client install.
Step 3: Double-click the installer and follow the prompts. Installing somewhere other than the system drive makes future management easier.
Step 4: Launch the client and sign in with the same account you used on the website. Once logged in, your cloud devices sync into the list automatically, with no reconfiguration needed.
Step 5: Click start on a device card and wait roughly ten to thirty seconds for it to boot, after which the screen renders in the window. The first launch may be slightly slower, which is normal.
If the installation fails, check two things first: whether the installer came from the official site, and whether your system allows installing apps from outside the store. Ruling those out makes most installation problems disappear.
Screen Mirroring and Keyboard Mapping
Once the picture appears, the next job is making it comfortable to use.
Quality and bitrate: With a good network, raise the clarity setting for a crisper image. If the network is average or frames are obviously dropping, lower the bitrate first; smoothness matters more than sharpness.
Full screen and multi-window: Use full screen when working on a single device, and tile the windows when running several in parallel so you can see every status at a glance.
Keyboard and mouse mapping: The client usually provides key mapping that ties keyboard keys to on-screen touch points. Map the direction keys for landscape games, or map repeated taps for repetitive tasks, and the difference in efficiency is very noticeable.
Audio and clipboard: Sound plays through your computer speakers by default, and the clipboard is usually shared, so text copied on your PC can be pasted directly into an input field inside the cloud phone.
These settings are generally remembered, so you only need to configure them once.
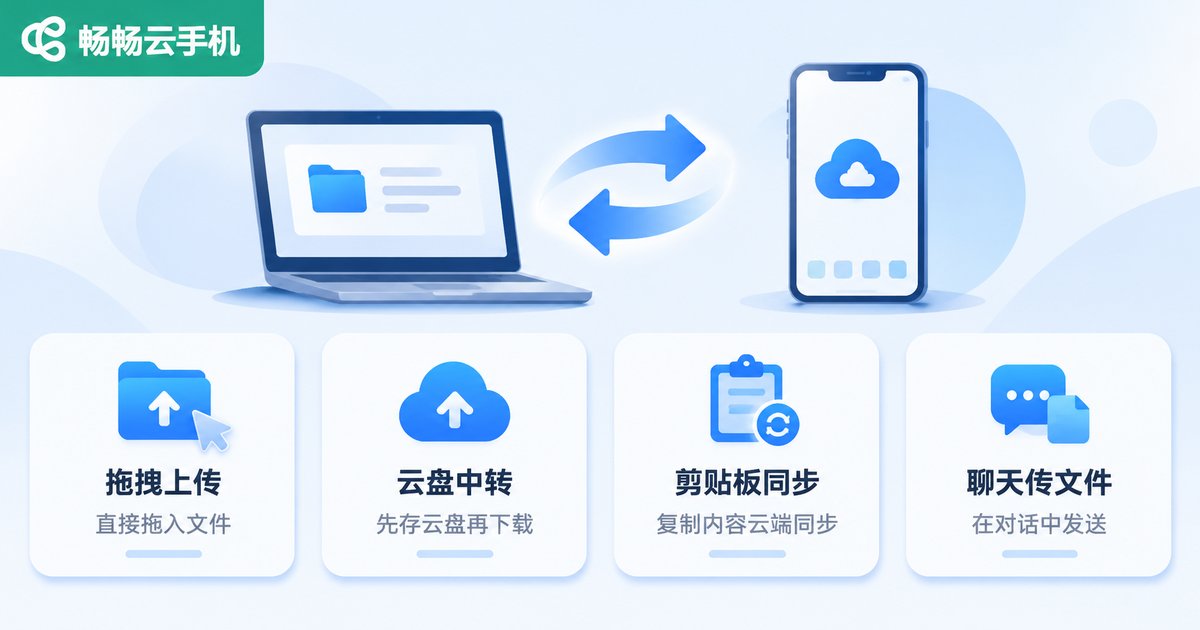
File Transfer: Four Practical Methods
This is where beginners most often get stuck. Transferring files to a cloud phone is not complicated once you pick the right channel.
| Method | How to do it | Best for |
|---|---|---|
| Client upload | Drag local files straight into the cloud phone window, or use the upload button | APK packages, images, documents |
| Cloud drive relay | Upload to a cloud drive, then sign in to that drive inside the cloud phone and download | Larger files |
| Clipboard sync | Copy on the PC, paste inside the cloud phone | Accounts, passwords, links, verification codes |
| Chat app file transfer | Send files between your own two devices | Small or temporary files |
One tip for APK files: after a successful upload the file usually lands in the cloud phone's download folder, so you need to open the file manager, find it and tap install. It does not install itself. Once installed, the icon appears on the home screen.
Photos travel in both directions. You can push images from your PC into the cloud album, and you can also export screenshots or saved images from the cloud phone's file manager back to your local computer. Drag and drop is the fastest approach for batches, selecting several files at once.
Network and Image Quality Tips
Many people assume a cloud phone is "lagging" because of device performance, when eight times out of ten it is a network issue. Try adjusting these:
Enough bandwidth: A single 1080P stream usually needs a stable few megabits per second, and multiple instances multiply that. Running several cloud phones while streaming HD video guarantees stutter.
Prefer wired connections: If your computer can use an Ethernet cable, use it. Wi-Fi signal fluctuation has a big impact on frame smoothness.
Cut background usage: Close background sync and download tasks that eat bandwidth, and the picture will stabilise noticeably.
Choose a nearby node: The closer the data centre, the lower the latency and the more responsive the controls feel.
Lower quality when appropriate: For idle running or scripted tasks where you are not really watching, drop the quality. It saves bandwidth and stays steadier.

Frequently Asked Questions
Q: The cloud phone screen will not open on my PC. What should I do?
First confirm that you are signed in and that the device status shows as running. If the device is powered off, start it and wait a moment. If the screen is still black, try a different browser or client version and check that your local network is working.
Q: I uploaded an APK but cannot find it inside the cloud phone.
Open the built-in file manager and check the download directory. Some files are stored in a dedicated upload folder, so using the file manager's search by filename is quicker. Tap the file to install it.
Q: Can I transfer photos between the cloud phone and my PC?
Yes. For PC to cloud, drag and drop or use the upload button. For cloud to PC, save the images inside the cloud phone and export them through the file manager. For batches, select several files at once instead of sending them one by one.
Q: Will running several cloud phones at the same time be laggy?
It mainly depends on two things: whether your bandwidth is sufficient, and how many screens are rendering at once. Start with two instances, then scale up gradually rather than opening everything at once.
Q: Can my phone and my PC operate the same cloud phone at the same time?
It is best to operate a given cloud phone from one device at a time so the two ends do not interrupt each other. The exact rules for simultaneous sessions follow the prompts shown in the client.
Q: Do I have to install the client when using a laptop on the go?
No. Logging into the browser version on the official site is enough to open the screen for quick checks and simple operations. Back at your main workstation, switching to the client makes multi-instance management much smoother.