Using WeCom on a Cloud Phone: Login, Messages and Permission Management
WeCom has quietly become the front door of the workday for a lot of companies: clocking in, approvals, customer conversations and internal notices all live there. Putting it on your personal phone has downsides though — messages that keep coming after hours, re-verification every time you switch handsets, and chat records left on devices that are hard to clean up when someone leaves. Running it on a cloud phone spreads that load somewhere else. Below is how to log in, receive messages and manage permissions for WeCom on CCloudPhone (ccloudphone).
1. What a cloud phone actually solves
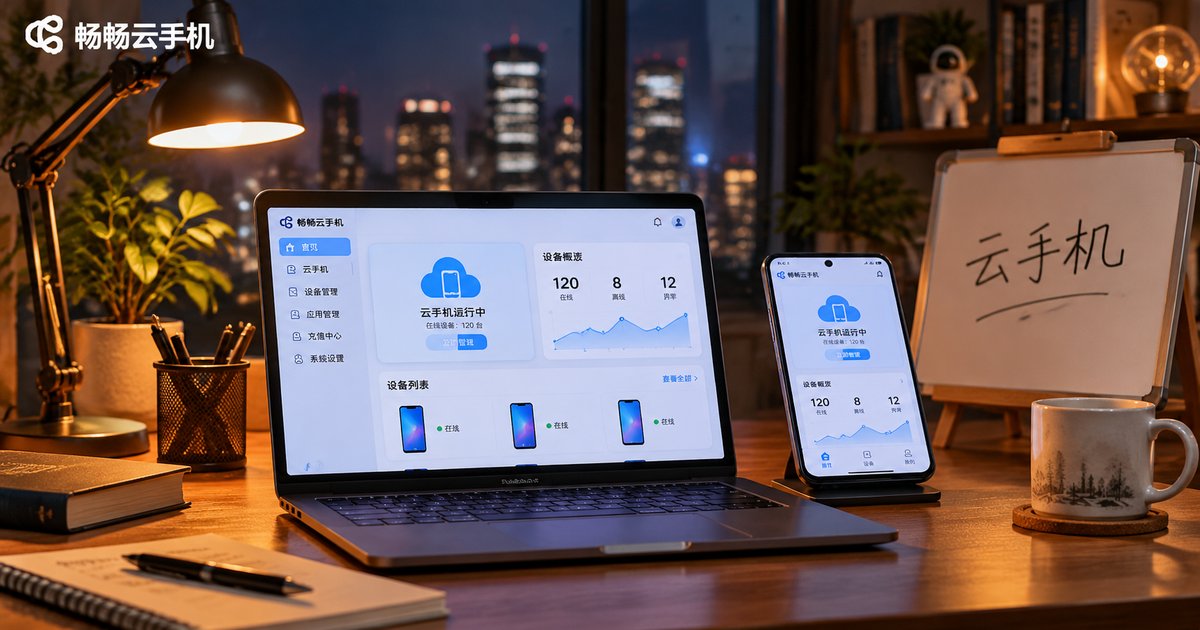
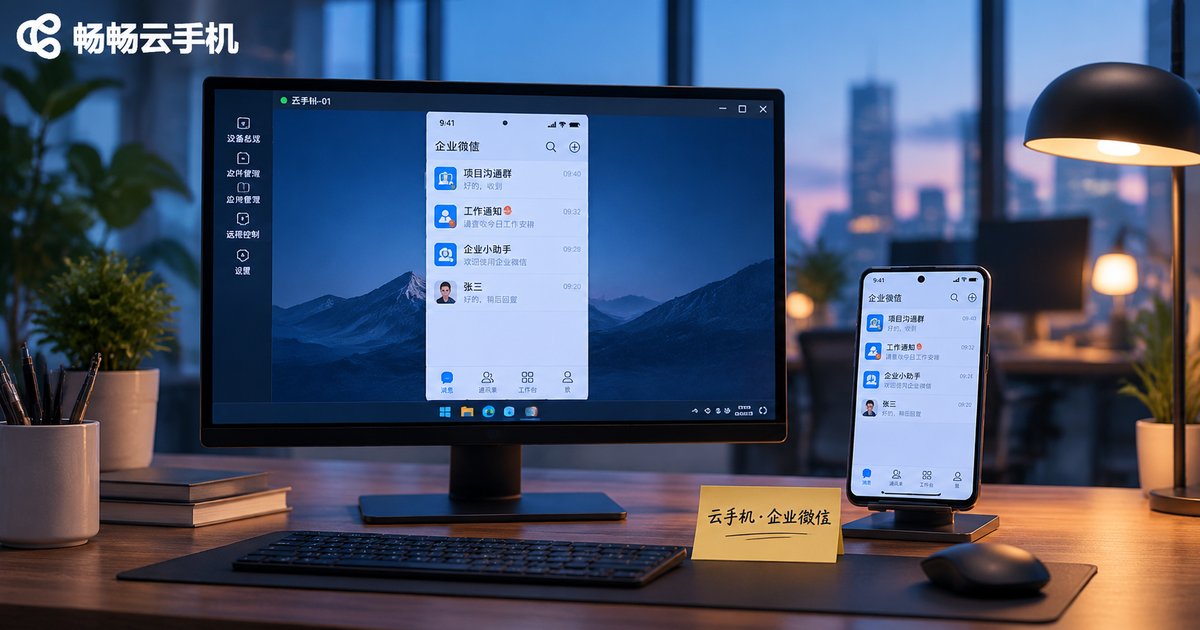
A cloud phone is best understood as a second Android phone that runs in a cloud data center. WeCom is installed inside it and stays online day and night, while you view the screen and tap around remotely from your own phone or computer through a client. It feels much like holding the device yourself, except the device never has to be with you.
Compared with installing WeCom directly on your own handset, the differences cluster in a few areas:
| Item | On your own phone | On a cloud phone |
|---|---|---|
| Device footprint | Uses local storage, drains battery | No local storage used, runs in the cloud |
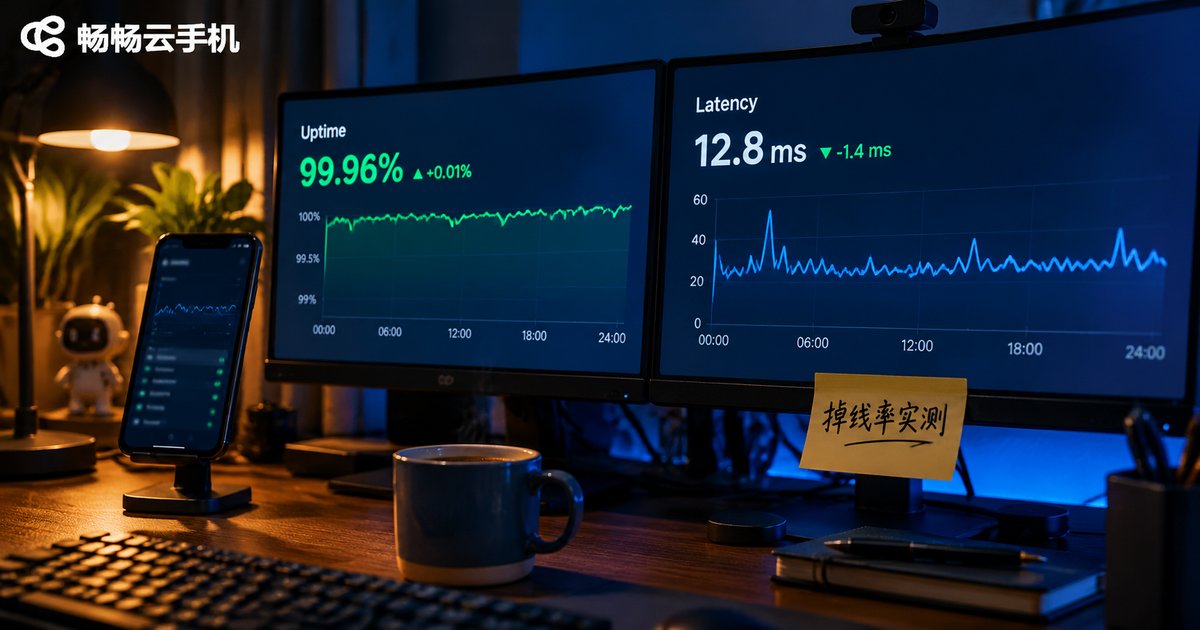
| Uptime | Limited by battery and shutdowns | Stays online, not interrupted by phone power-off |
| Multiple accounts | Repeated log-out and log-in | One account per cloud phone, fully separated |
| Handover | Reinstall and re-verify | Just log in from another device, environment unchanged |
One clarification: a cloud phone is not a magic always-on bot. It simply relocates the device. What really shapes the experience is the state of your WeCom account and the permissions your company has configured.
2. Login: from creating an instance to opening WeCom
Step 1 — Create the cloud phone. On the CCloudPhone website, choose the configuration you need and create an instance. Size it against normal WeCom usage; for everyday office work a basic configuration is a reasonable starting point, and you can adjust later based on actual load.
Step 2 — Install WeCom. From the cloud phone desktop, either search for it in the app market or upload the package your IT team distributes and install it manually. Pin the icon to the desktop afterwards so it is one tap away.
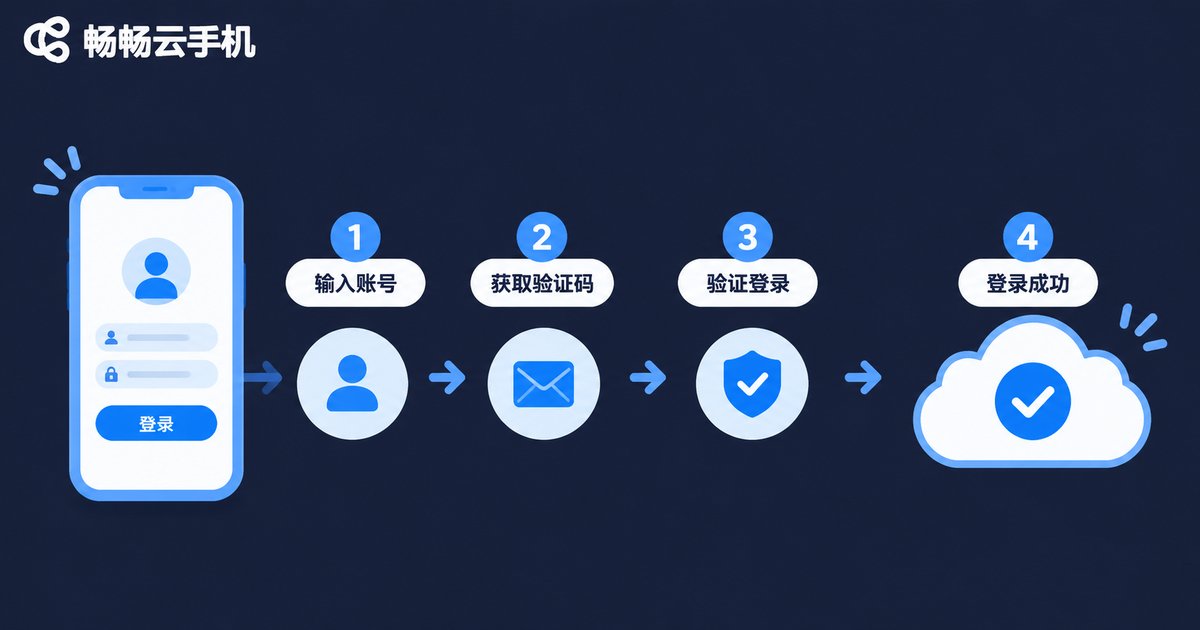
Step 3 — Sign in. Open WeCom and log in with your phone number plus verification code, your corporate email, or a QR scan. If your organization requires admin approval, a new device may show a pending verification prompt — ask IT or your admin to approve it.
Step 4 — Complete device binding. Some companies require trusted devices. The cloud phone counts as a brand new device, so after logging in, check the device status under Me – Settings – Account and Security and mark it as trusted to avoid repeating verification next time.
Step 5 — Handling multiple accounts. One cloud phone can hold one WeCom account at a time. If you need several identities — say your own employee account plus a customer-facing role — create additional cloud phone instances. Each environment has its own data and cannot read the other.
3. Messages: making sure you actually get them
Notification behavior inside a cloud phone matches a normal Android handset, but a few settings are easy to miss:
Allow notifications fully. On first install the system asks for permission — say yes. Then in the cloud phone settings, enable normal notifications, floating notifications and lock screen notifications for WeCom. Otherwise you get the classic “message arrived but nothing popped up” problem.
Keep it resident in the background. A cloud phone does not sleep because of a screen lock or battery-saving rules, so WeCom can stay running in the background and pushes usually arrive in real time. If you notice delays, check the battery optimization and background restriction settings inside the cloud phone first.
Do Not Disturb and Snooze. WeCom itself lets you set quiet hours so notifications stop after work and get handled the next morning. This matters a lot for teams that keep an account logged in permanently.
Multi-device sync. The same account can be online on the cloud phone, your own phone and a desktop at the same time. Messages, read states and recall notices stay in sync — a conversation you answer on desktop shows as read on the cloud phone too.
Message retention. Chat history on the cloud device does not consume local storage, and you can scroll back through it directly. Teams with handover needs can take regular full-device backups from the CCloudPhone console, so a new colleague can simply continue on a restored instance.
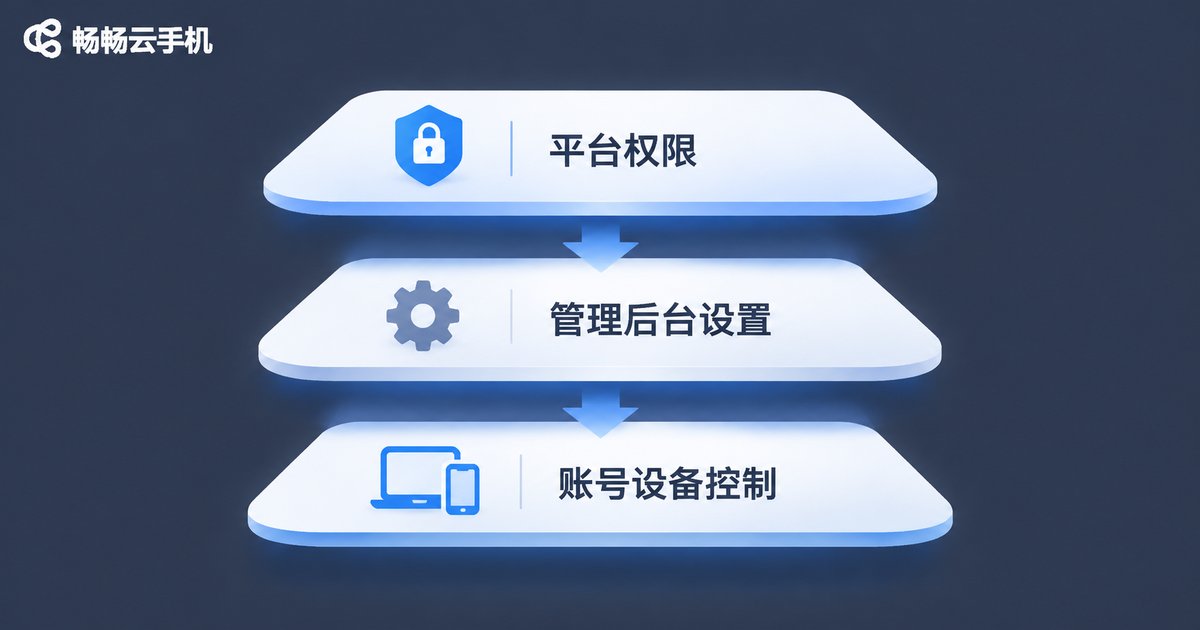
4. Permissions: three layers people mix up
“Cloud phone permissions” and “WeCom permissions” are frequently treated as one thing. They are actually three separate layers:
Layer one — cloud phone platform rights. This is about who can sign in to the cloud phone console and who can power on, restart, reinstall, back up or view the screen. Assign sub-accounts per person: keep instance deletion and system reset with administrators, and give ordinary members usage rights only.
Layer two — WeCom admin settings. These live in WeCom’s own admin console and cover contact directory management, app management, conversation archiving and approval workflow configuration. The cloud phone is only the device container and does not bypass any of it — if an admin restricts who can see which department, the same restriction applies inside the cloud phone.
Layer three — account and device controls. This includes trusted device management, login approval, two-step verification, and disabling accounts plus reclaiming devices at offboarding. When someone leaves, disable the account in the WeCom console and also reclaim or reset the matching cloud phone instance. Both steps are needed for a clean handover.
5. Practical tips
Name every cloud phone instance after the role it serves, for example “After-sales – Agent 01”. Troubleshooting later becomes much faster.
Keep WeCom-only instances separate from instances used for testing, so a pile of other apps does not interfere with office work.
Review the logged-in device list regularly and remove anything unfamiliar or unused.
For accounts that touch customer data, pair the setup with WeCom’s own conversation archiving. The cloud device is only a device; record retention still depends on your company configuration.

FAQ
Q: Will logging in to WeCom on a cloud phone be flagged as an abnormal login?
A: A cloud phone is an ordinary Android device and the login flow is the same as on a normal phone. A few companies enable device whitelists or login approval, in which case an admin needs to approve it — just coordinate in advance.
Q: Are WeCom messages on a cloud phone delayed?
A: Normally they are pushed in real time. If you see delays, first confirm all notification permissions are enabled, then check whether background restrictions or battery optimization are active inside the cloud phone.
Q: How many WeCom accounts can one cloud phone hold?
A: One at a time. To manage several accounts, create several cloud phone instances and keep them separate.
Q: What happens to chat records after an employee leaves?
A: Take a full-device backup from the cloud phone console for your records, then reset the system or delete the instance. Conversation content on the WeCom side follows your company archiving policy.
Q: Does the cloud phone need to stay powered on?
A: If you want continuous message delivery, keep it running. When you do not need it, you can power it off — the instance is still there next time, you just log back in to WeCom.
If your team needs a way to keep WeCom online continuously and hand it over cleanly, you can create an instance on the CCloudPhone website (ccloudphone) and follow the steps above — most setups are up and running within half an hour.