UI Automation Testing on Cloud Phones: How to Configure Element Locating and Screenshot Comparison
Why Run UI Automation Tests on Cloud Phones?
For app automation testing, the biggest headache is usually not writing scripts but managing devices: local emulators distort the environment, physical devices are always in short supply, and results change when you switch computers. Cloud phones solve all of this at once — test devices run in the cloud with a unified system environment, stay online 24/7, and can be provisioned in batches whenever needed, ready for your scripts to connect.
Using ChangChang Cloud Phone as an example, this article walks you through the two core tasks: how to configure element locating and how to implement screenshot comparison. The same workflow applies to any cloud phone that supports ADB debugging.
Step 1: Connect the Cloud Phone to Your Automation Environment
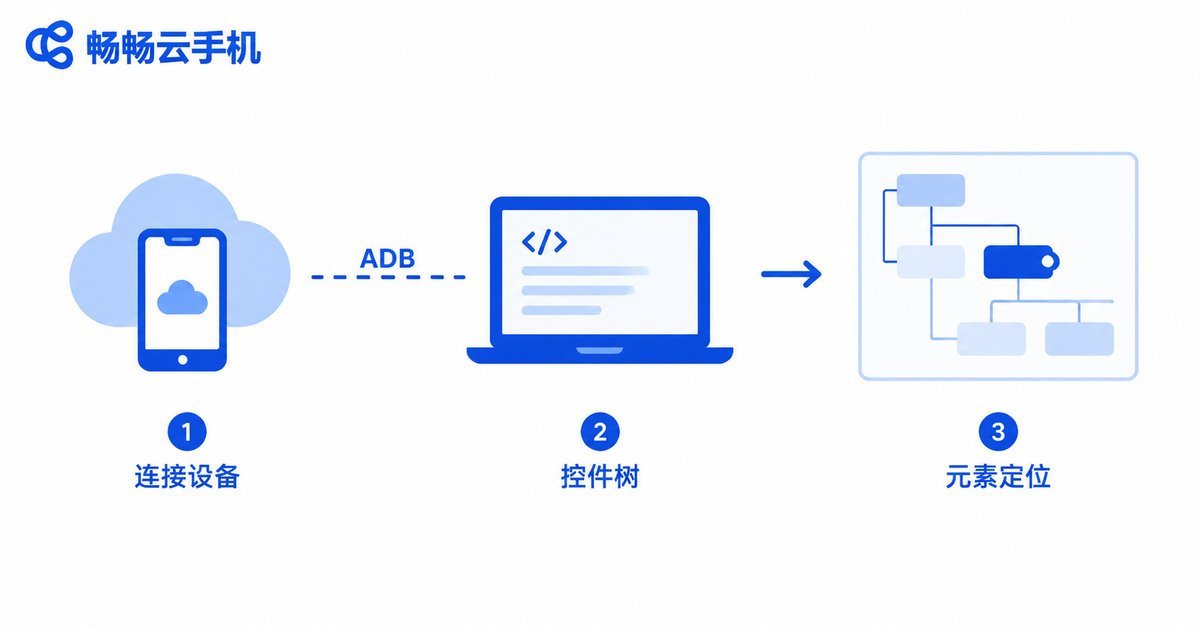
The foundation of UI automation is the ADB channel. A cloud phone is essentially an Android device running in the cloud; once you have its remote ADB address, your local computer can control it exactly like a USB-connected device.
Log in to the ChangChang Cloud Phone console, open the details page of the target device and find the remote ADB connection info (IP and port). The entry point may vary slightly between versions — follow what the console actually displays — then run locally:
adb connect 120.xx.xx.xx:26666
adb devices
Once 120.xx.xx.xx:26666 device appears in the list, the channel is ready. Confirm the device responds with:
adb -s 120.xx.xx.xx:26666 shell getprop ro.build.version.release
Common pitfalls: for connection timeouts, check your local network first; if the device shows offline, run adb disconnect and connect again.
Element Locating: Three Approaches and How to Configure Them
Option 1: uiautomator dump — inspect the widget tree quickly
The lightest approach requires no framework at all. Export the current screen's widget hierarchy directly:
adb -s 120.xx.xx.xx:26666 shell uiautomator dump /sdcard/ui.xml
adb -s 120.xx.xx.xx:26666 pull /sdcard/ui.xml .
Open ui.xml and search for the target button's resource-id, text or bounds coordinates to obtain the locator. Great for quick debugging, not ideal for long-term scripts.
Option 2: Appium + UiAutomator2 — the production-grade choice
For serious automation projects, Appium is the way to go. It drives the device through UiAutomator2 and supports locating by id, xpath, accessibility id and more. The key configuration is putting the cloud phone's ADB address into udid:
from appium import webdriver
from appium.options.android import UiAutomator2Options

opts = UiAutomator2Options()
opts.platform_name = 'Android'
opts.automation_name = 'UiAutomator2'
opts.udid = '120.xx.xx.xx:26666'   # ADB address of the cloud phone
opts.new_command_timeout = 300

driver = webdriver.Remote('http://127.0.0.1:4723', options=opts)

# Locate the login button by resource-id
btn = driver.find_element('id', 'com.demo.app:id/btn_login')
btn.click()
If several cloud phones are connected at once, run a separate Appium server port for each device to achieve parallel execution across devices.
Option 3: image-based locating — for Canvas and custom-drawn UI
Games and some custom-drawn interfaces expose no widget tree at all. In that case, screenshot comparison is the only way to locate elements — exactly what the next section covers.
| Locator | Best for | Stability | Maintenance cost |
|---|---|---|---|
| resource-id | Standard widgets with unique IDs | High | Low |
| xpath | Layered structures without IDs | Medium | Medium |
| accessibility-id | Widgets with accessibility labels | High | Low |
| Image matching | Games, Canvas, custom-drawn UI | Medium | Medium |
| Coordinate taps | Last resort | Low | High |
Screenshot Comparison: From Capture to Diff Report
1. Capture screenshots from the cloud phone reliably
adb -s 120.xx.xx.xx:26666 exec-out screencap -p > screen.png
Use exec-out to stream the image directly instead of screencap followed by pull — this avoids newline corruption of the PNG on Windows. In batch jobs, name every screenshot with a timestamp so results stay traceable.
2. Template matching: verify whether an element appears
Crop the button or icon in advance as a template, then let OpenCV find it inside the full screenshot:
import cv2
import subprocess

host = '120.xx.xx.xx:26666'
subprocess.run(f'adb -s {host} exec-out screencap -p > screen.png', shell=True)

img = cv2.imread('screen.png')
tpl = cv2.imread('btn_pay.png')
res = cv2.matchTemplate(img, tpl, cv2.TM_CCOEFF_NORMED)
_, max_val, _, max_loc = cv2.minMaxLoc(res)

if max_val > 0.9:
    print('Element found at:', max_loc)
else:
    print('Target element not found, similarity:', max_val)
Keep the threshold between 0.85 and 0.95: lower values cause false positives, higher values miss matches due to rendering differences.
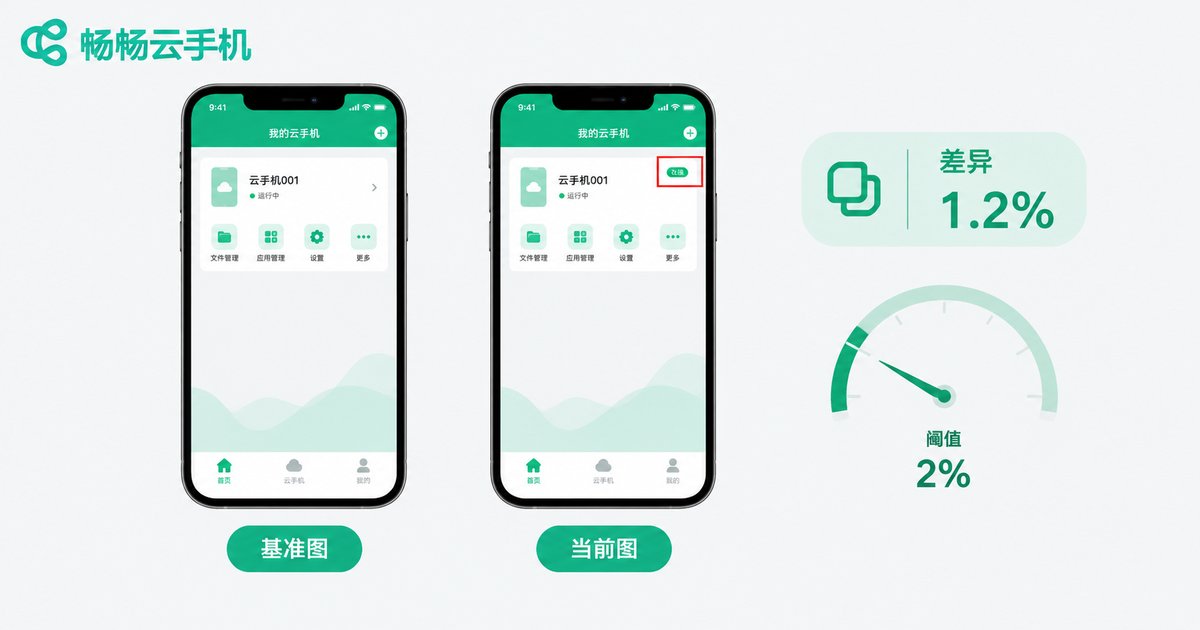
3. Pixel-level diffing: full-screen regression checks
For UI regression and theme verification, compute how much the current screen differs from the baseline:
from PIL import Image, ImageChops
import numpy as np

base = Image.open('baseline.png').convert('RGB')
curr = Image.open('screen.png').convert('RGB')

diff = ImageChops.difference(base, curr)
arr = np.array(diff)
ratio = (np.any(arr > 20, axis=2)).mean()
print('Diff pixel ratio: {:.2f}%'.format(ratio * 100))
assert ratio < 0.02, 'Screenshot diff exceeds 2%, manual review needed'
Three field-tested tips: ① if resolutions differ, resize both images to the same dimensions before comparing; ② the status bar clock, battery icon and notification badges always differ — mask or crop dynamic regions first; ③ for interfaces full of gradients and shadows, use SSIM (structural similarity) instead of pixel-by-pixel diffing for better robustness.
Level Up: Parallel Devices and Scheduled Regression
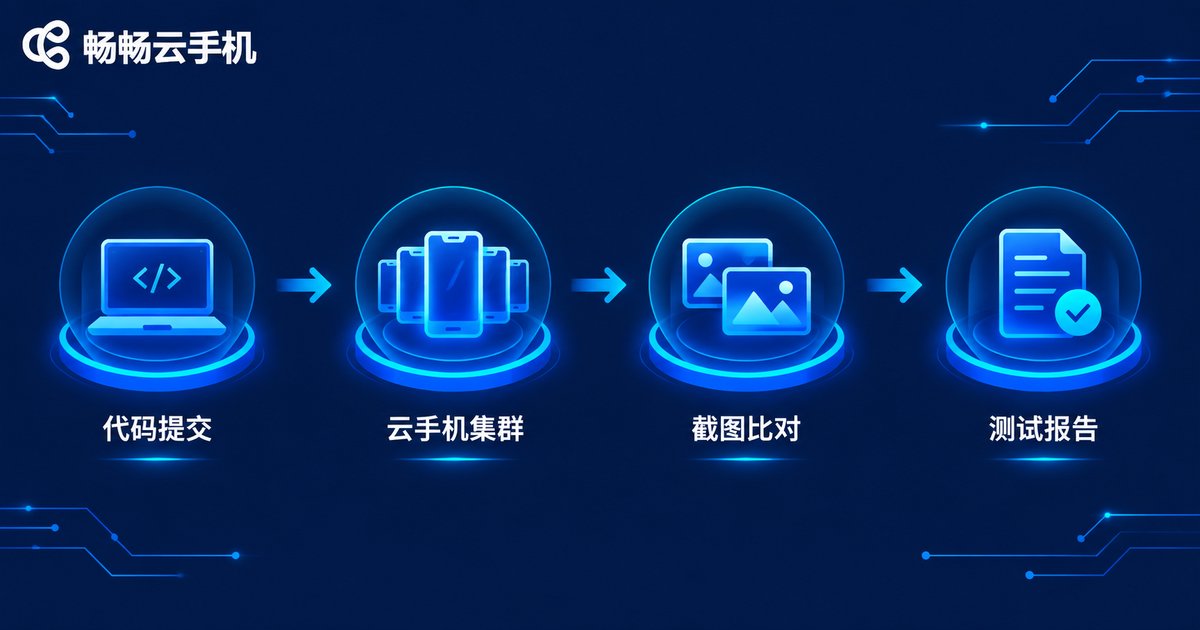
A single device is only smoke testing; real efficiency comes from running in parallel. The idea is simple: parameterize the script above, pass each device's ADB address as an argument, and drive them with a process pool:
from multiprocessing import Pool

devices = [
    '120.xx.xx.xx:26666',
    '120.xx.xx.xx:26667',
    '120.xx.xx.xx:26668',
]

with Pool(len(devices)) as pool:
    pool.map(run_test, devices)
Pair this with a scheduler (crontab or a Jenkins pipeline) to kick off the regression suite automatically every night, then simply review the screenshot diff report the next morning. Because cloud phones stay online 24/7, scheduled jobs never depend on anyone's computer being switched on.
Why We Recommend ChangChang Cloud Phone
For automation testing, a cloud phone needs to deliver three things: a stable ADB channel, clean and consistent device environments, and batch management. ChangChang Cloud Phone (ccloudphone) performs solidly on all three:
① Clean environments: every cloud phone is an isolated Android environment. Test apps never pollute each other, and a device can be reset to a clean state at any time.
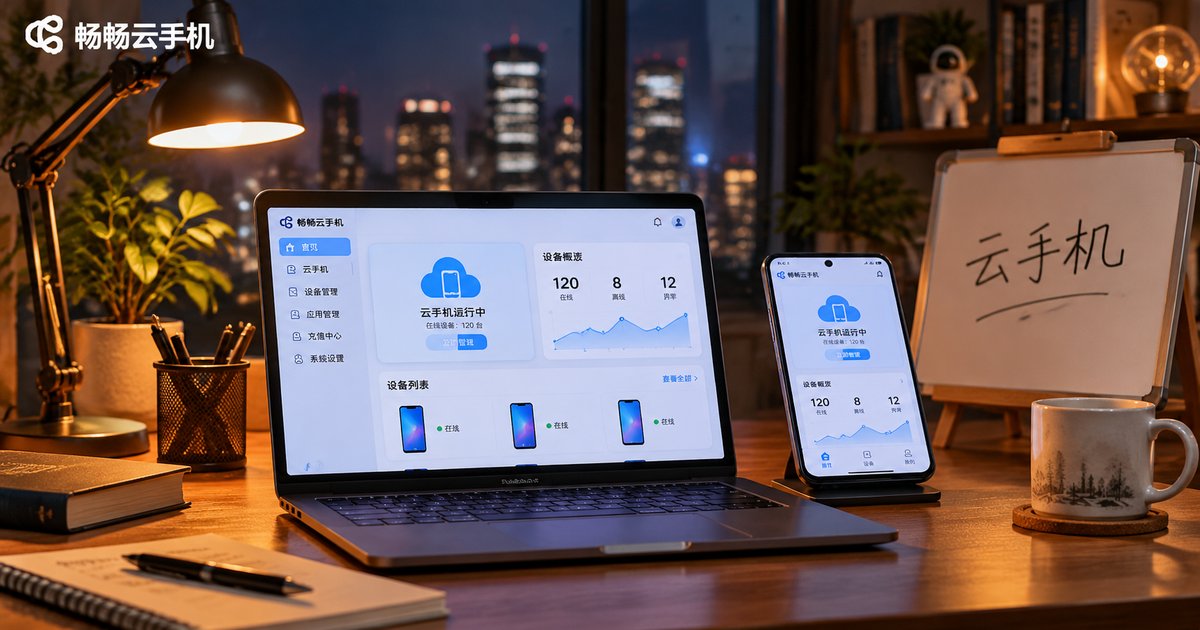
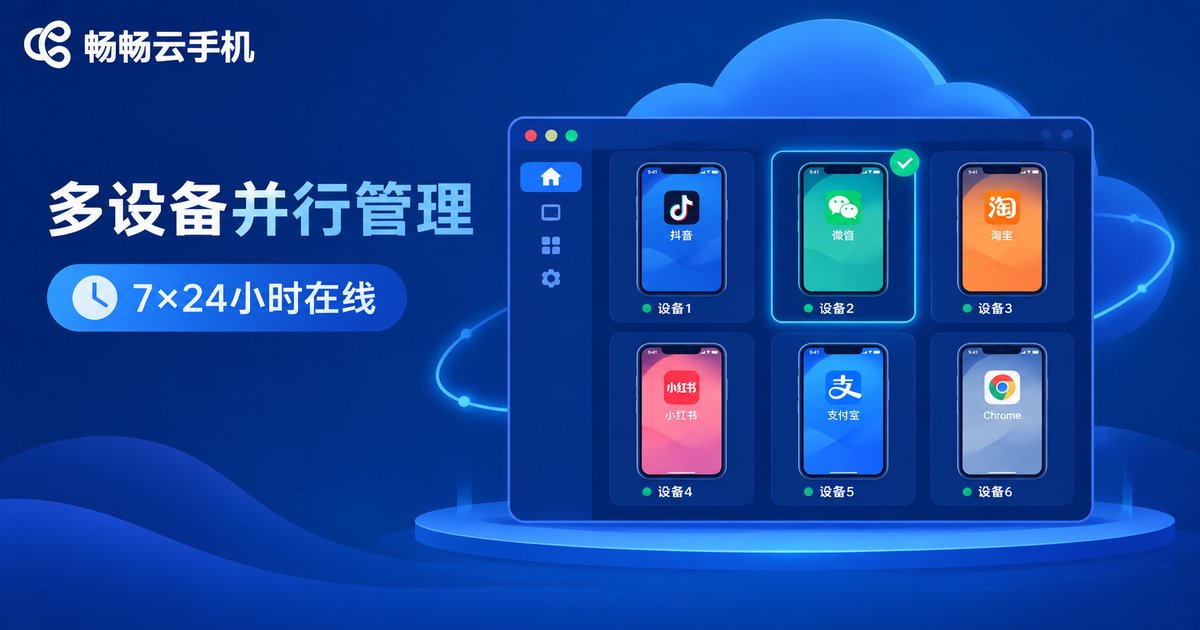
② Smooth batch management: view and manage multiple devices side by side in the client, which pairs perfectly with multi-process scripts for parallel regression.
③ Online 24/7: devices live in the cloud, so overnight regressions and scheduled tasks never depend on your local machine.
④ Controllable cost: instead of building your own physical device lab, provision devices on demand. Start small to validate the workflow, then scale up as your suite grows.
For the latest plans and device specifications, refer to the official ChangChang Cloud Phone website (ccloudphone).
FAQ
Q: Do cloud phones lag or add high latency for automation?
Everyday app operations and screenshot comparison work perfectly fine. Prefer explicit waits over fixed sleeps in your scripts so cases stay stable under network jitter; for frame-rate-critical game testing, run a small pilot first before scaling up.
Q: Does ChangChang Cloud Phone support ADB? Where do I find the address?
Yes. Log in to the console and open the device details page to see the remote ADB IP and port — the exact entry point follows what the console displays. Run adb connect with that address and you are ready to go.
Q: What threshold should I use for screenshot comparison?
Start at 0.85–0.95 for template matching and 2% for full-screen pixel diff, then fine-tune based on false positives after a few runs. The key is excluding dynamic regions such as the status bar.
Q: What if an element cannot be located?
Troubleshoot in order: confirm the page has finished loading (add explicit waits); dump the widget tree with uiautomator to check whether the node exists; for WebView pages, switch to the WebView context first; if all else fails, fall back to image matching or coordinate taps.
Q: How many cloud phones can one computer run in parallel?
It depends on your local network and the concurrency of your framework. An ordinary office PC can handle 5–10 Appium instances at once; beyond that, run devices in batches or deploy the scheduler on a server.