Cloud Phone Screenshot Guide: Save Paths, Resolution Settings and Batch Export
Cloud Phone Screenshots Are a Little Different
Anyone who has used a cloud phone knows the device runs on a remote server and the picture you see is streamed to your local machine in real time. That makes screenshots a bit special: is the image stored in the cloud, or on your own device? Once you answer that, save paths, sharpness and batch export all fall into place.
This article breaks the topic into three parts: where screenshots go, how to set image quality, and how to export many shots at once. By the end you will have a workflow that fits your needs.
Where Are Screenshots Saved? Three Common Paths
Where your screenshot ends up depends mostly on which layer you press the capture button in.
1. Local client capture
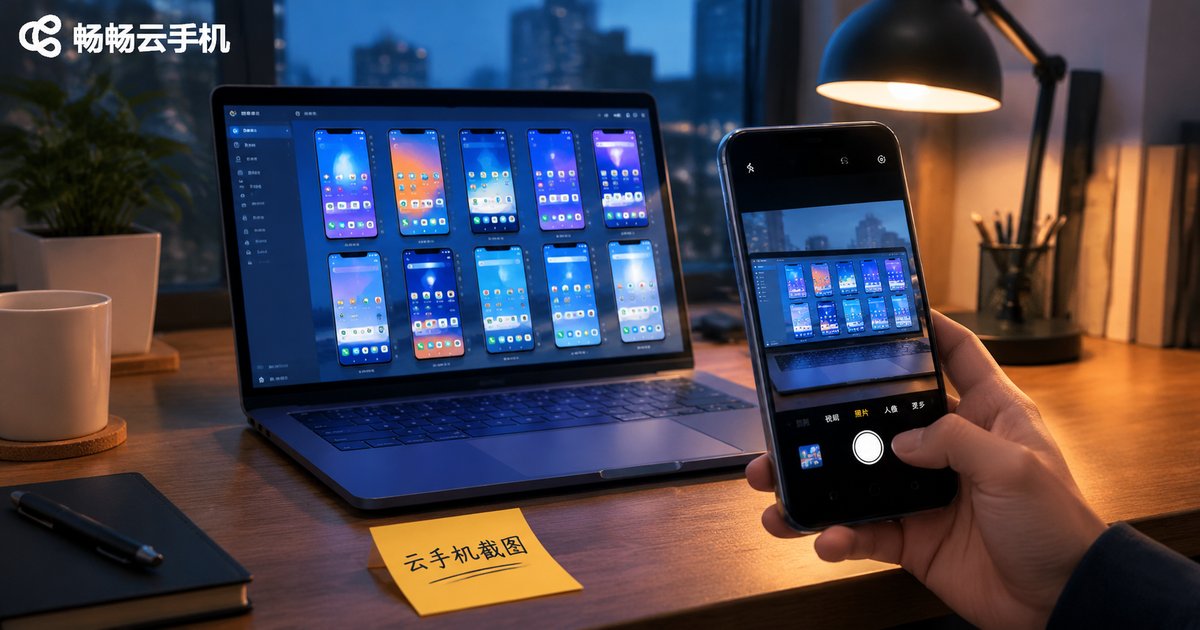
Taking the screenshot inside the cloud phone client window usually saves the file to a default folder on your own computer or phone. It is fast and uses no cloud space, but quality depends on the window size. Shrink the window and the image gets blurry.
2. Capture inside the cloud system
Using the system screenshot function inside the cloud phone stores the image in the cloud phone gallery or the /sdcard/Pictures directory first, and you download it through file management later. This gives you the full resolution and is the right choice when you need the original image.
3. Console or interface export
When you need many images, pull the whole cloud directory down through file management or an interface. It is far faster than clicking one by one.
None of the three is strictly better; it depends on the use case. For quick notes and chat records, the first is enough. For asset libraries and interface checks, use the second or third.

Resolution Settings: Choose the Resolution First, Then the Format
Many people complain that cloud phone screenshots look soft. The screenshot function is rarely the problem; compression in the middle quietly eats the quality. Check two things in order.
First: set the instance resolution correctly. If the instance renders at 720p, you will never get a 1080p screenshot. The resolution ceiling of a screenshot always equals the rendering resolution of the instance. Adjust the instance first, then talk about capture.
Second: pick the right format. The trade-offs differ:
| Format | Quality | File size | Best for |
|---|---|---|---|
| JPG | Lossy | Small | Daily notes, chat records |
| PNG | Lossless | Larger | UI assets, text-heavy screenshots |
| WebP | Adjustable | Medium | Web display, archived assets |
JPG is fine for everyday records. For UI assets and anything you need to zoom into, choose PNG or another lossless option. Also note that some clients recompress images during transfer. If the result looks worse than expected, check the client quality setting and switch it to original quality.

Batch Export: From One-by-One Clicks to a Single Pull
Building an asset library, running interface regression tests, or backing up content across multiple instances all require batch screenshots. The core idea is one sentence: let screenshots land in the same directory automatically, then move the whole thing at once.
If you are comfortable with the command line, remember that a cloud phone is essentially an Android device, so standard ADB capture commands work:
# Capture a full-screen image into the cloud directory
adb shell screencap -p /sdcard/Pictures/shot_001.png

# Pull the entire directory back to your local machine
adb pull /sdcard/Pictures ./shots/
For multi-instance setups, pair this with a script: enter each instance in turn, capture in order, and name files instance_timestamp.png. Then export everything at once. Consistent naming saves a huge amount of time when you organize the assets later.
Two small details matter: first, clean up old images, because cloud storage is finite and a full directory will make new captures fail; second, confirm the page has finished rendering before capturing. Cloud video has transfer latency, and grabbing a frame too early often gives you half a white screen.
Easier Screenshot Management with ccloudphone
ccloudphone runs a complete Android system in the cloud and supports multiple instances, file management, screenshots and screen recording. Images can be reviewed and organized in the cloud gallery first and downloaded to your local machine when needed, so you are not constantly shuffling files between devices.
Combined with consistent naming and a fixed storage directory, organizing assets across multiple instances becomes much easier. For the exact features and instance specifications, refer to the official website.

FAQ
Q: Do cloud phone screenshots take up local storage?
It depends on where you capture. A local client screenshot saves to your own device. A cloud system screenshot uses cloud space first and only occupies your local storage after you download it.
Q: Why does my screenshot look blurrier than the screen?
Three common causes: the instance resolution is set too low, the client recompresses during transfer, or the image was saved as a heavily compressed JPG. Check them in that order.
Q: Can I capture screenshots across multiple instances at once?
Yes. Use a script to switch through instances and capture each one, store everything in a single directory, and export in one go. It is much faster than manual work.
Q: Which directory is easiest for finding screenshots later?
Pick a fixed location such as the gallery directory or /sdcard/Pictures, and include the instance number and a timestamp in the file name so export and archiving stay tidy.
Q: What if a screenshot fails or comes out as a blank white screen?
First check whether the cloud directory is full, then confirm the page has finished loading. Cloud video has latency, so waiting a second or two before capturing usually fixes it.