Cloud Phone Screen Recording Guide: Audio Settings, File Size and Where Files Are Saved
Three things you need to settle before you hit record
A cloud phone runs on a remote server, and the picture is streamed to the window in front of you in real time. That adds a few choices a physical phone never gives you: are you recording the cloud picture or your local window, which channel does the audio come through, and does the file end up in the cloud or on your own machine. When those three do not line up, two things usually happen — the video looks fine but has no sound at all, or the recording is finished and you cannot find the file anywhere in your local gallery.
This guide walks through it in order: start recording → audio settings → keeping file size under control → saving and exporting.
Step 1: Find the record button and start
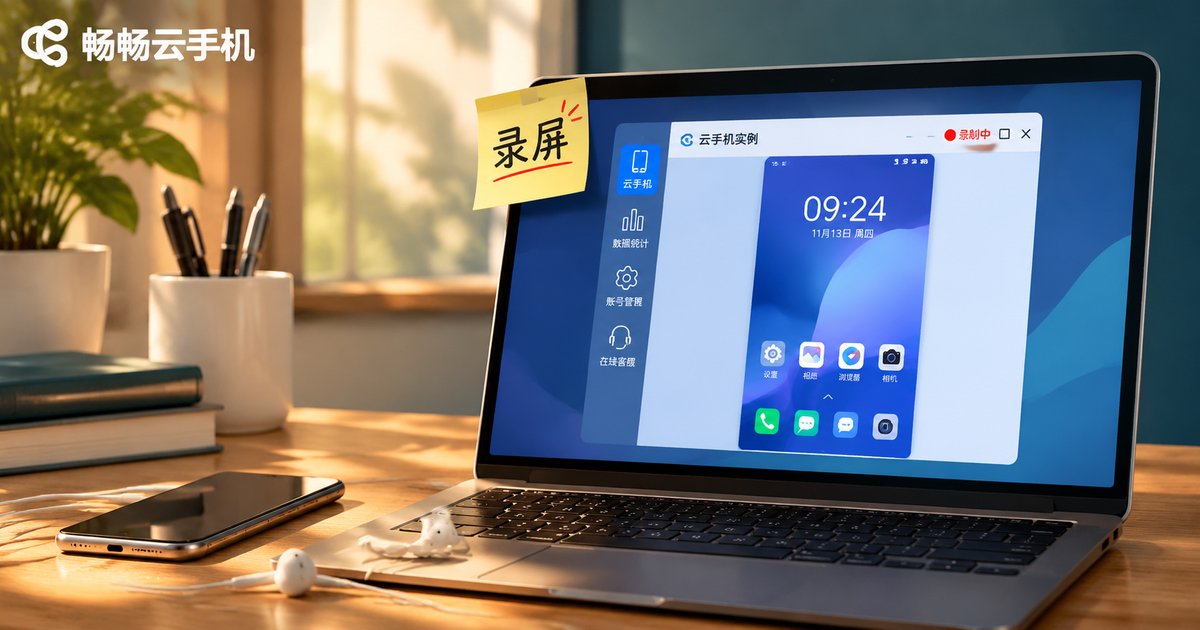
After opening your instance window in ccloudphone, the recording button usually sits in the control toolbar along the side of the window, shown as a small camera with a circle around it. After you click it you get a short countdown, then a recording timer appears in the status bar — that means it is capturing.
A few practical tips:
· Wait two or three seconds after starting before you move the cursor, so the opening frames are not shaky.
· Try not to resize the window while recording; the aspect ratio change is very visible in the final video.
· For long sessions, check the remaining runtime of the cloud instance first, because closing the session mid-way will cut the recording off.
Step 2: Audio settings decide whether your video has sound
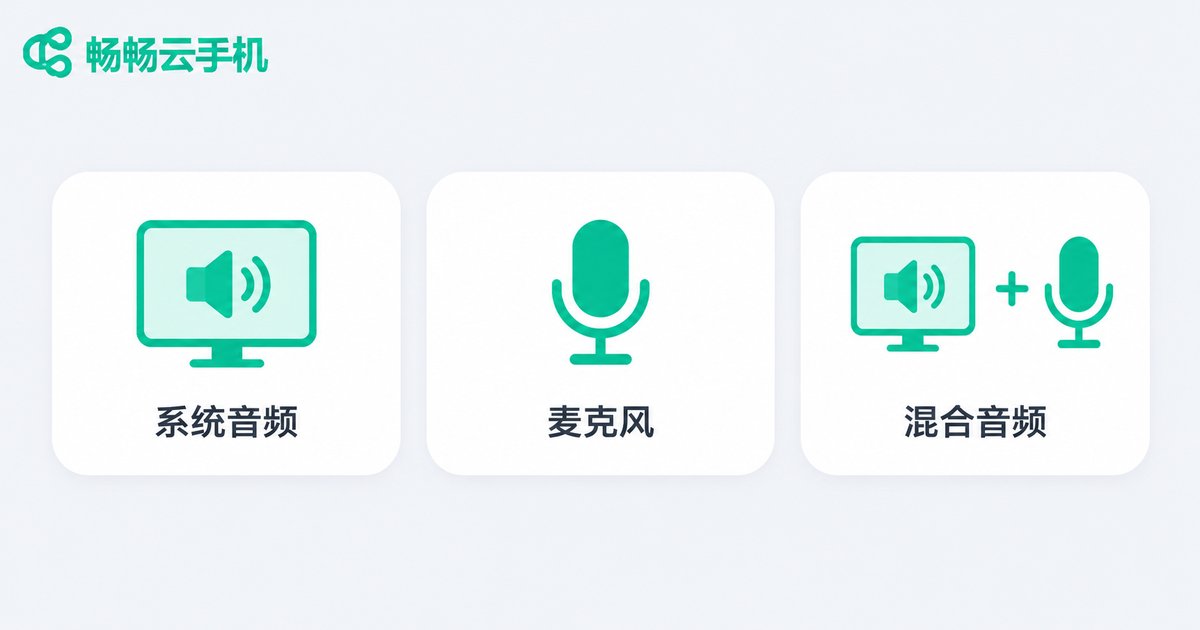
Nine times out of ten a silent recording is not a broken feature, it is the wrong audio source. There are three common modes, and they do completely different jobs:
| Audio mode | What gets captured | Best for |
|---|---|---|
| System audio | Everything playing inside the cloud phone: game effects, video dialogue, app sounds | Gameplay capture, video clips, app walkthroughs |
| Microphone | Your own voice from the local device, no cloud audio | Narrated tutorials and talking-head style content |
| Mixed | Cloud audio plus your commentary | Explainer guides and product demos |
If you want the picture with no sound at all, switch the source to mute or turn off the microphone permission for the recording tool.
Troubleshooting order for no audio: first check whether the audio source is correct, then whether the device is on silent, and finally whether the media volume inside the cloud phone app was turned down to zero. Following that order solves almost every silent-recording case on your own.
Step 3: Resolution and frame rate set the file size
Recording size comes down to three factors: resolution, frame rate and duration. Higher resolution, higher frame rate and longer sessions all mean bigger files. The numbers below are estimates for common settings; actual size varies with how busy the picture is.
| Quality setting | Per minute | Per 30 minutes | Typical use |
|---|---|---|---|
| 720P / 30fps | 5–8 MB | 150–240 MB | UI walkthroughs, chat logs, step-by-step tutorials |
| 1080P / 30fps | 10–15 MB | 300–450 MB | Most game recordings and everyday sharing |
| 1080P / 60fps | 20–30 MB | 600–900 MB | High frame rate games, fast actions you need to inspect |
If you are not sure, 1080P at 30fps is the safest default: it plays everywhere, from phones to desktops to social platforms, and the file stays reasonable. Only move up to 60fps when you genuinely need to step through fast actions frame by frame.
Two details people forget: a picture with constant large-area motion (running around a map, big combat effects) produces noticeably bigger files than a static screen, and sessions over about fifteen minutes are better split into parts — easier to edit, and less likely to fail on export because one file got too large.

Step 4: Where the finished file is saved
Recordings are stored inside the cloud phone instance by default. To find them, open the file manager on the cloud phone home screen and look under the recording or gallery folder; you can also tap the preview prompt that appears when a recording ends.
To watch or edit it locally, you need to bring the file back from the cloud:
· Use the share or download button inside the instance window to save it to your local gallery or downloads folder;
· Or upload it to cloud storage first and pull it down from your phone, which works better for large files;
· If you only need to show it to someone, copying the file link is often faster than downloading.
One warning: when a cloud phone instance is reset or expires, the files inside it are cleared as well. Export important recordings promptly instead of leaving them in the cloud indefinitely.

What recording actually feels like on ccloudphone
ccloudphone keeps the everyday controls in a toolbar on the side of the instance window, so recording, screenshots and volume are one click away instead of buried in menus. The streamed output stays fairly stable, which matters when you are recording a long, slow tutorial and cannot afford a mid-session stall. The audio source selector sits right next to the record entry, so on your first attempt you can see whether you are capturing system audio or the microphone — which saves you from re-recording after discovering the video is silent.
FAQ
Q: The video looks fine but there is no sound at all. What should I check?
Start with the audio mode. Game effects and video dialogue require system audio; if you picked microphone you will only get your own voice. Then check that the device is not on silent and that the media volume inside the cloud phone app is not at zero.
Q: The file is huge. How do I make it smaller?
Drop the frame rate from 60 to 30, or lower the resolution to 720P — that usually cuts the size by more than half. Shorter, segmented recordings are also easier to handle than one hour-long file.
Q: I can see the file inside the cloud phone, but it is not in my local gallery.
That is expected. Recordings live inside the cloud instance by default. Use the share or download button in the instance window to bring the file back, or upload it to cloud storage first and download from there.
Q: Can I record for a very long time in one go?
Duration is limited mainly by the instance runtime and available storage. Recording in segments of around ten to fifteen minutes is safer and easier to edit.
Q: Does recording slow down my operations?
Recording does add some overhead. If it feels sluggish, lower the frame rate or resolution first, and close background apps inside the cloud instance that you are not using.