How to Improve Cloud Phone Screenshot Clarity: Resolution and Display Settings Guide
1. Find Out Where Clarity Is Actually Lost
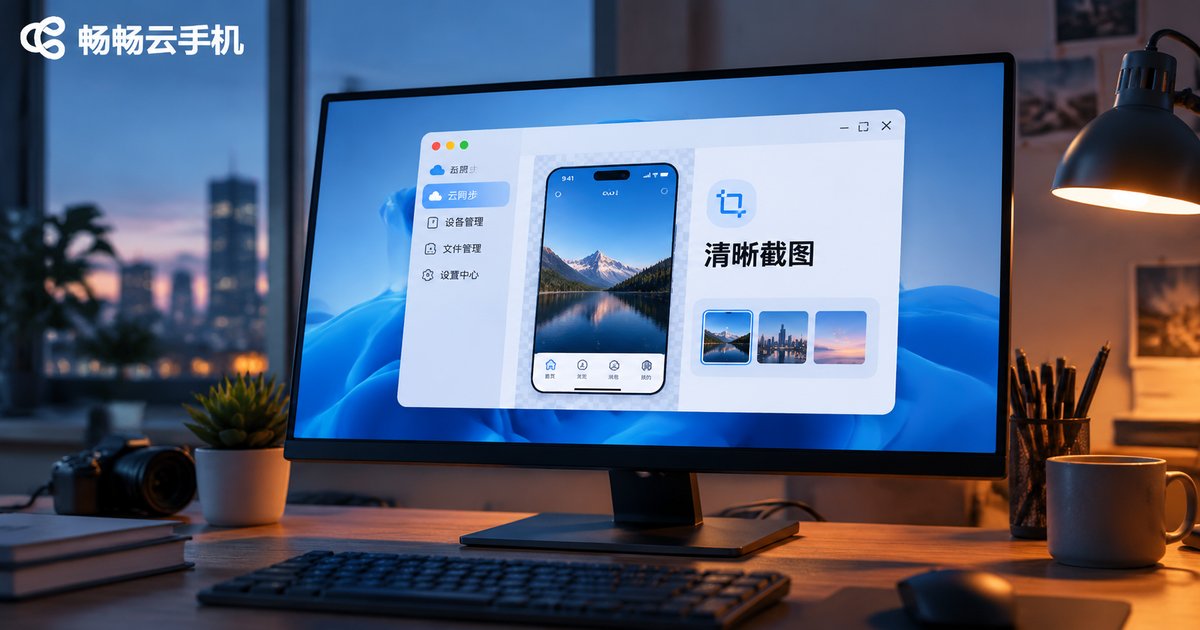
Plenty of users see a perfectly crisp image inside their cloud phone, only to find the screenshot looks soft. The capture action itself is rarely the problem — something earlier in the display chain is compressing the picture.
The full chain looks like this: cloud rendering → video encoding → network transmission → local decoding → you press capture. If any link runs on low settings, the final screenshot will suffer.
The four most common points where quality drops:
- The cloud instance resolution is too low: many instances default to 720p, so your screenshot only contains 720p worth of pixels. Upscaling cannot bring back detail that was never captured.
- Insufficient bitrate: fast-moving content develops blockiness and smearing that is especially obvious once you zoom in.
- Secondary compression during transmission: some clients lower image quality to save bandwidth.
- Format conversion after capture: converting PNG to JPG, or forwarding through a chat app that recompresses, makes the file blurrier with every hop.
So the right order is: fix the chain settings first, then worry about capture technique.
2. Resolution: The Most Direct and Most Overlooked Setting
Resolution sets the pixel ceiling of your screenshot. If the cloud instance only renders at 720p, your capture is 720p — interpolation adds no real detail.
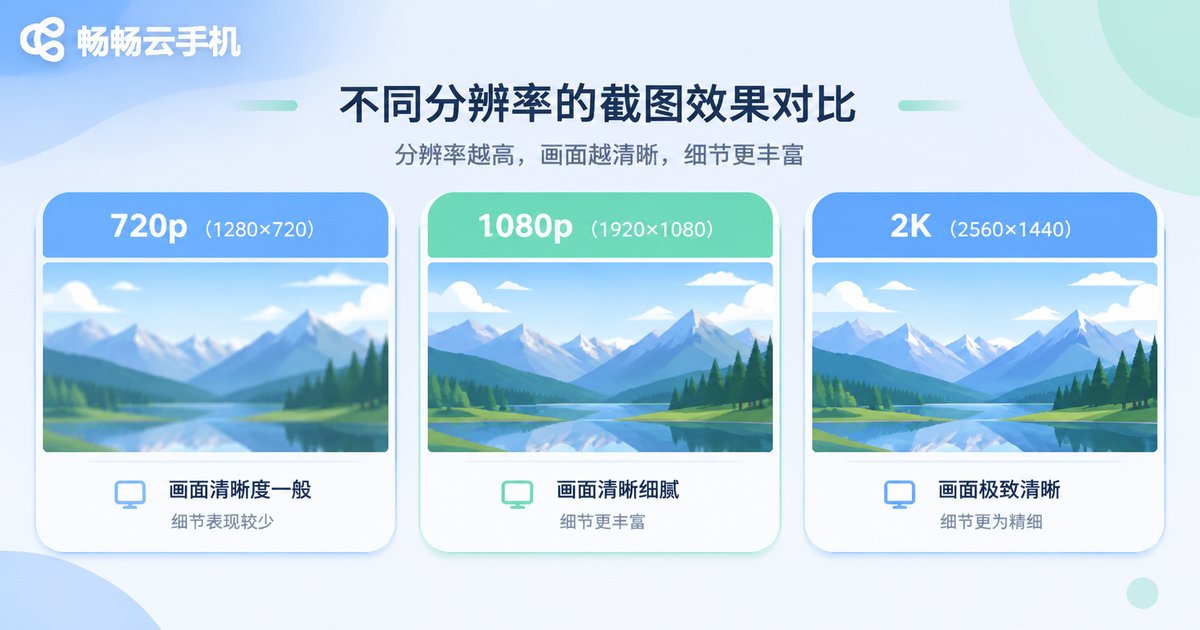
Here is how the three common tiers affect screenshot quality:
| Resolution | Pixel count | Best for | Screenshot quality |
|---|---|---|---|
| 720p (1280×720) | ~0.92 MP | Idle tasks, messaging | Soft text edges, visible jaggies when zoomed |
| 1080p (1920×1080) | ~2.07 MP | Mobile games, social apps, e-commerce | Crisp text, plenty of detail, best all-rounder |
| 2K (2560×1440) | ~3.69 MP | Asset collection, close inspection | Rich detail, noticeably larger files |
Higher is not automatically better. More pixels mean more rendering and bandwidth pressure, so on a weak network a high resolution can actually stutter and drop frames — leaving the frame half-rendered at the moment you capture. A practical rule: use 1080p on an average connection, and switch to 2K only when the network is stable and you need fine detail.
3. Bitrate, Frame Rate and Codec: The Information Budget
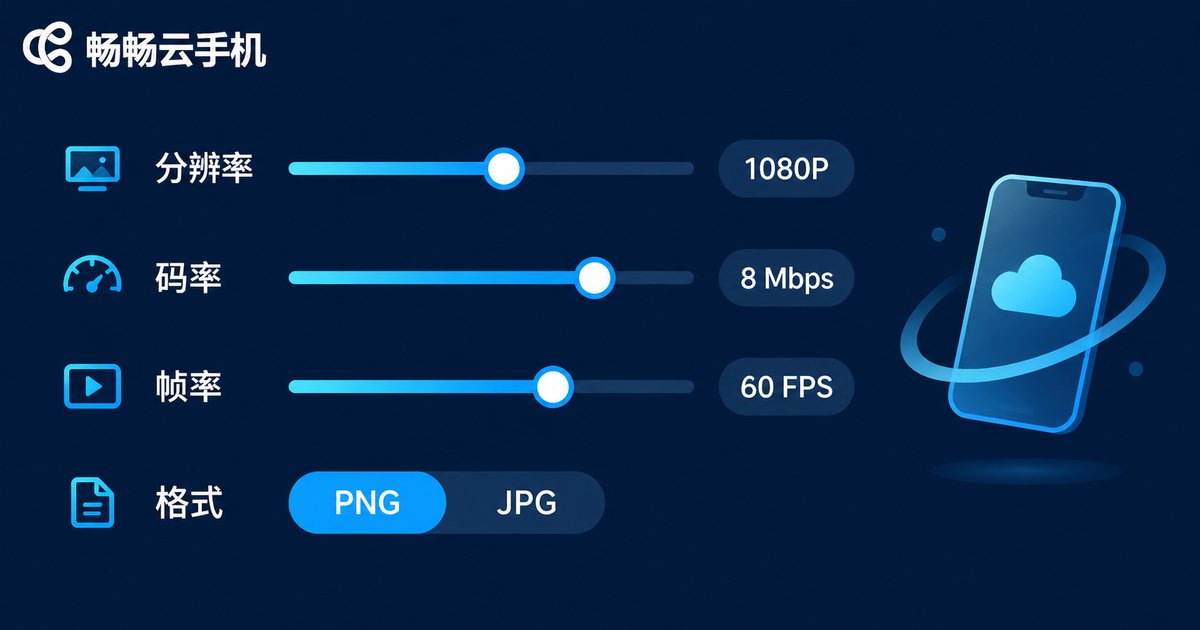
If resolution is the number of pixels, bitrate is how much information each pixel gets. When bitrate is too low you get colour banding and smearing that becomes very visible once a screenshot is enlarged.
Bitrate: static content such as documents, chat windows and product pages needs very little. Games, video and other dynamic content need more to preserve detail. If the screen is changing rapidly, let it settle before capturing.
Frame rate: 30fps is entirely sufficient for screenshots. 60fps mainly improves input responsiveness and motion smoothness, and adds little to a single still frame. If your goal is screenshot assets, there is no need to sacrifice bitrate for 60fps.
Codec: H.264 offers the best compatibility and rarely causes problems. H.265 delivers better quality at the same bitrate but needs decoding support, and older devices may misbehave.
In short: protect resolution first, then bitrate, and treat frame rate as the last priority.
4. Your Capture Method Changes the Result
A lot of people miss this: on the same cloud phone, different capture methods can produce screenshots a full tier apart in quality.
| Method | How it works | Clarity | When to use |
|---|---|---|---|
| Client toolbar capture | Grabs the locally decoded preview | Medium, limited by transmission quality | Quick notes, casual sharing |
| Native cloud-side capture | Generates the image inside the cloud instance | Highest, unaffected by transmission | Asset collection, guides, product images |
| Frame grab from a recording | Pulls a frame from already-compressed video | Lowest | Fallback when nothing else works |
When clarity matters, use native cloud-side capture and save as PNG. PNG is lossless and ideal for text and UI with sharp edges; JPG suits photographic content but is lossy on every save.
5. Do Not Forget In-App Quality Settings
The cloud phone resolution is only the container — the apps inside have their own quality options. Check these:
- In-game graphics presets: many games default to a performance-first mode that lowers render precision, so screenshots come out soft.
- Interface scaling: an oversized scale factor stretches UI elements and makes screenshots look fuzzy.
- Motion blur and anti-aliasing: motion blur ruins screenshots of moving scenes; disable it temporarily for stills.
- Power-saving modes: some apps cap rendering resolution when battery saving is on.
Aligning these in-app options with your cloud resolution is where the visible improvement comes from.
6. Recommended Presets by Scenario
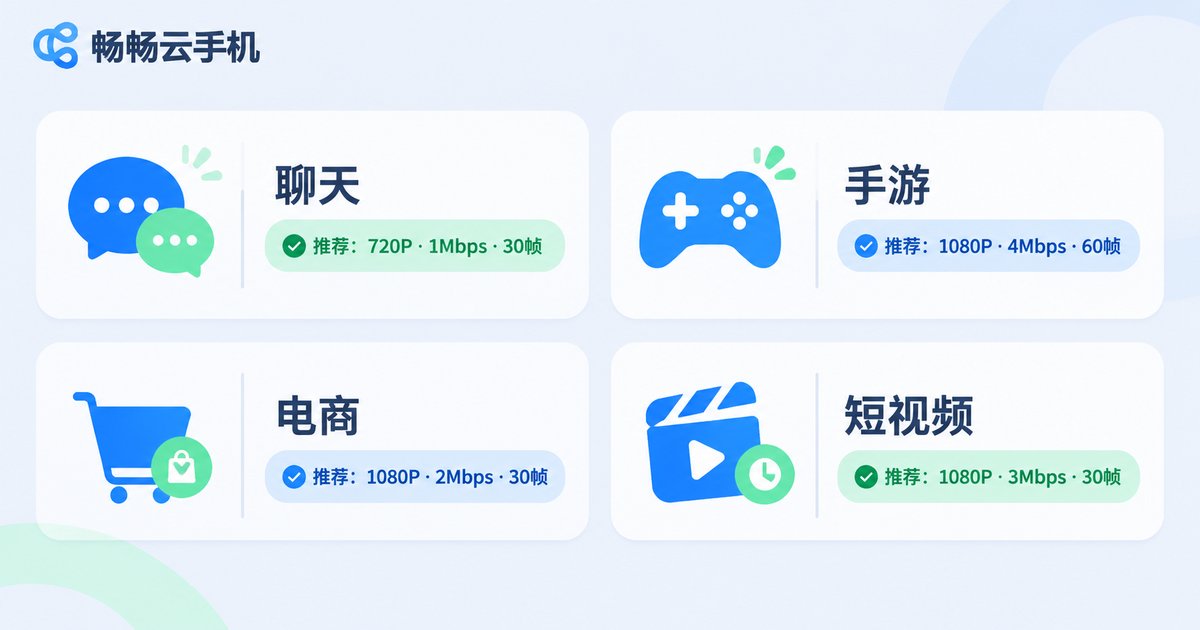
You do not need to tune everything from scratch each time. Here are four practical combinations:
| Scenario | Resolution | Bitrate | Frame rate | Capture method |
|---|---|---|---|---|
| Chat and document reading | 1080p | Medium | 30fps | Native cloud-side capture |
| Mobile game stills and guides | 1080p–2K | High | 60fps | Native capture + PNG |
| E-commerce pages and product shots | 1080p | High | 30fps | Native capture + PNG |
| Short video and live streams | 1080p | Very high | 60fps | Frame grab, or native capture |
7. For a Sharp Picture Out of the Box, Try ccloudphone
Endless parameter tweaking is genuinely tedious. If your work involves long-running sessions, batch screenshots or consistent output, a cloud phone platform with controllable, clearly labelled quality tiers saves far more time than improvising every session.
ccloudphone exposes resolution and quality tiers as options you can switch directly in the console, so you can adjust them to your current network and workload without installing extra plugins. For users who need to stay online for long periods and produce consistent output, locking in one stable set of quality parameters and then fine-tuning per scenario is usually more effective than chasing extreme settings — after all, when it comes to screenshot clarity, consistency beats raw numbers.
For the exact tiers, configuration options and feature details available, refer to what is actually shown in the ccloudphone official console, and choose according to your own use case.

Frequently Asked Questions
Q1: How is a cloud phone screenshot different from a normal phone screenshot?
A normal phone screenshot captures locally rendered pixels and is essentially the original image. A cloud phone screenshot passes through encoding and transmission, so it carries an extra compression step — which is why poor settings show up so clearly.
Q2: Is the highest resolution always the sharpest?
No. Resolution is only the pixel ceiling. If bitrate is insufficient or the network is unstable, a high resolution is more likely to stutter or capture a partially loaded frame. 1080p is the best value in most situations.
Q3: Should I save screenshots as PNG or JPG?
For text, UI and game menus with sharp edges, PNG is clearly better. JPG suits colourful photographic content, but remember every re-save is lossy.
Q4: Why is the same cloud phone sometimes sharp and sometimes blurry?
Most likely network fluctuation is dynamically lowering the bitrate, or the screen is changing rapidly. Capture when the connection is stable and let the frame settle for a second or two first.
Q5: Why does my screenshot get blurry after I send it in a chat app?
That is the chat app recompressing the image, not a problem with the screenshot. Send as a file or choose the original-quality option to preserve it.