How to Screen Record on a Cloud Phone? Resolution, Frame Rate, and Duration Must Be Set Separately
Why Cloud Phone Screen Recording Is Not a One-Click Job
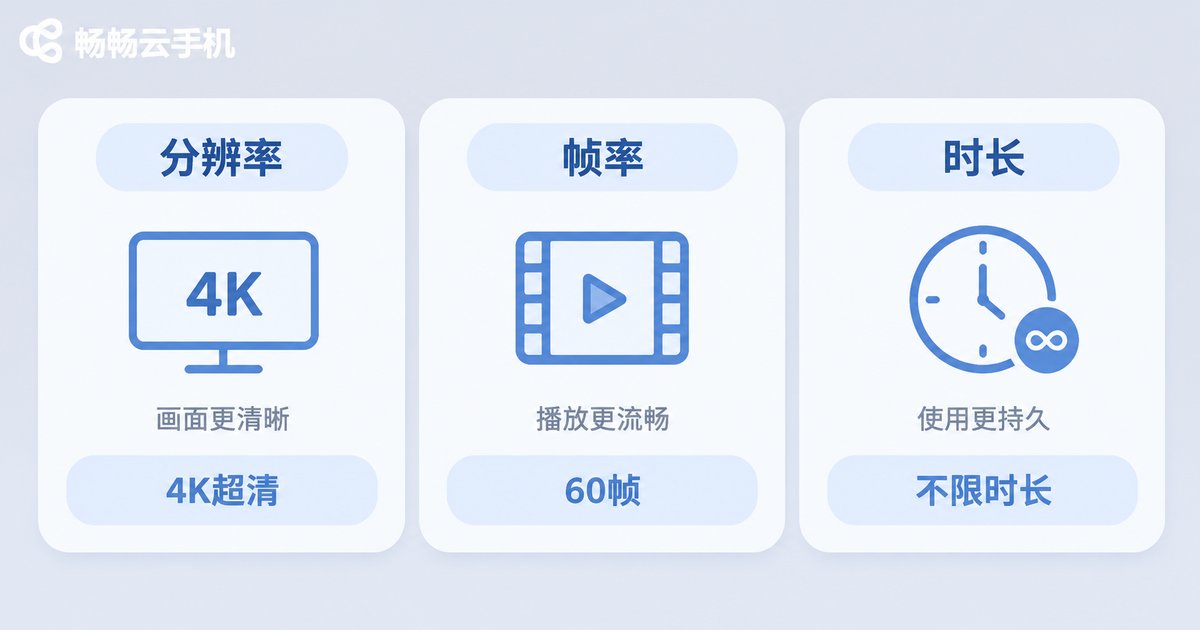
Most people open a cloud phone for the first time, look for a “Start Recording” button, tap it, and assume the job is done. Then the footage comes back either too blurry to read, choppy like a slideshow, or cut off halfway through. The problem is not the cloud phone — it is that screen recording involves three settings that pull against each other: resolution, frame rate, and duration. They are not the same switch, and they have to be configured separately.
This article breaks all three down: what each one actually controls, how to choose a value, and when to deliberately lower it. At the end you get several presets you can copy directly.
Setting One: Resolution — Deciding “Can You Read It?”
In most systems, visual quality is expressed as resolution, with common tiers of 480P, 720P, and 1080P. Higher numbers mean a sharper image, but also larger files and heavier encoding load.
The key question is not “higher is better” — it is what screen your footage will ultimately be viewed on:
- Just reviewing your own steps or logging a script run → 720P is plenty; smaller files, faster playback
- Sending to colleagues or posting in a group as a demo → 1080P is safer, with crisp text edges
- Only doing text recognition or status checks → 480P–720P actually saves you time
One point that is easy to miss: the recording quality ceiling is set by the cloud phone instance itself. If the instance runs at 720P, recording at 1080P just upscales a small image — it will not create detail that was never there.
Setting Two: Frame Rate — Deciding “Is It Smooth?”
Frame rate (FPS) is how many images are captured per second. Common tiers are 15, 24, 30, and 60.
This is where cloud phone recording trips people up most often: many push straight to 60, assuming it is more “advanced,” and then cloud-side encoding cannot keep up, producing dropped frames and out-of-sync audio.
| Frame Rate | Best For | Watch Out For |
|---|---|---|
| 15 FPS | Static pages, idle-task logs, scrolling text | Smallest files, but motion looks visibly steppy |
| 24–30 FPS | The vast majority of demos and tutorials | Best value; recommended as your default |
| 60 FPS | Gameplay, fast swiping, animation demos | Roughly doubles file size and demands more from the cloud |
A simple rule: does anything on screen move fast? If yes, lean toward 60. If not, 30 is enough.
Setting Three: Duration — Deciding “How Long” and “How to Split It”
Duration is the most underestimated of the three. Cloud phone recording is not unlimited; in practice there are three constraints: the per-session recording cap, cloud storage space, and the stability risk that comes with long continuous capture.
The recommended approach is to segment deliberately: split a long task into 5–15 minute chunks. The benefit is practical — if one segment fails you do not have to redo everything, and it is far easier to jump to a specific moment when reviewing. If you genuinely need long continuous capture, lower resolution and frame rate first and spend your resources on staying connected.
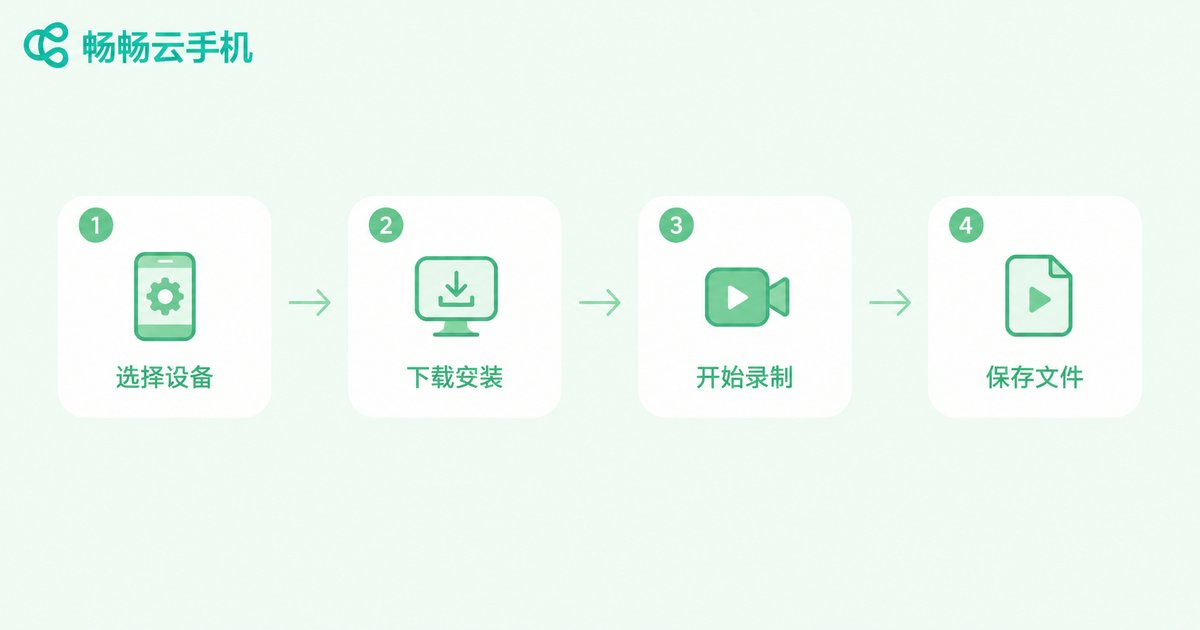
Three Presets You Can Copy Directly
| Scenario | Resolution | Frame Rate | Segment Length | Approx. Size |
|---|---|---|---|---|
| Script runs / idle-task checks | 720P | 15 FPS | 10–15 min | ~20–40 MB per segment |
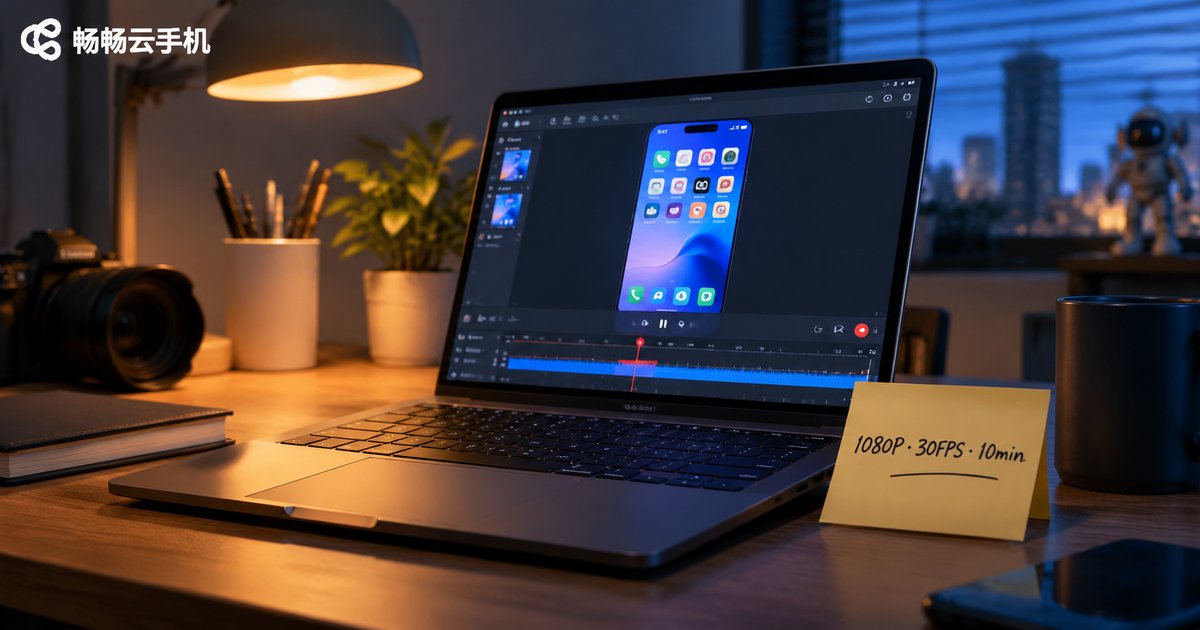
| Operation tutorials / process demos | 1080P | 30 FPS | 5–10 min | ~80–150 MB per segment |
| Gameplay or animation demos | 1080P | 60 FPS | 3–5 min | ~150–300 MB per segment |
(Sizes are empirical references; actual results depend on scene complexity and encoding.)
Getting These Three Settings Right in CcloudPhone
CcloudPhone (ccloudphone) runs a complete Android system on cloud servers, operated remotely through a client. Recording happens in the cloud, so configuration matters more than it does locally — because if you set it wrong before recording, you have to start over afterwards.
A practical order to follow:
- Confirm the resolution of your cloud phone instance first; do not record above it
- Choose a frame rate based on content type — 30 FPS is a safe starting point
- Plan your segments around task length; do not expect one long take to work
- Do a 30-second test recording and play it back to confirm clarity and smoothness
Because a cloud phone stays online in the cloud, the task itself is not affected by whether your local device is on or off — so you can schedule recordings around the rhythm of the cloud task, not around whether you happen to have a computer at hand.
FAQ
Q: How is cloud phone recording different from recording on a local phone?
Local recording captures your own phone screen. Cloud phone recording captures the virtual device running in the cloud, so the quality ceiling and frame rate performance depend on the cloud instance configuration, not on your phone's hardware.
Q: Why is the recorded video blurrier than expected?
Check the resolution of the cloud phone instance first. If the instance is 720P, setting the recording to 1080P will not make it sharper — it just enlarges the image.
Q: Is a higher frame rate always better?
No. Higher frame rates increase encoding pressure and actually make dropped frames more likely. For static content, 15–30 FPS is enough.
Q: What if a recording stops halfway?
It is usually an overly long segment or insufficient storage. Shortening segment length and lowering resolution a notch typically solves it.
Q: Do I need to reconfigure all three settings every time?
Save a few fixed presets per scenario and apply them when you switch tasks — far less hassle than tuning by feel each time.