What to Prepare Before Reporting a Cloud Phone Issue: Account, Screenshots and a Clear Problem Description
Why “it just stopped working” is not enough to fix anything
When a cloud phone fails, the slowest part is rarely the fix itself. It is locating the problem. Support first needs to know which cloud phone it is, when it happened, what you were doing at the time, and what appeared on the screen. If that information is ready from the start, the direction is usually clear within minutes.
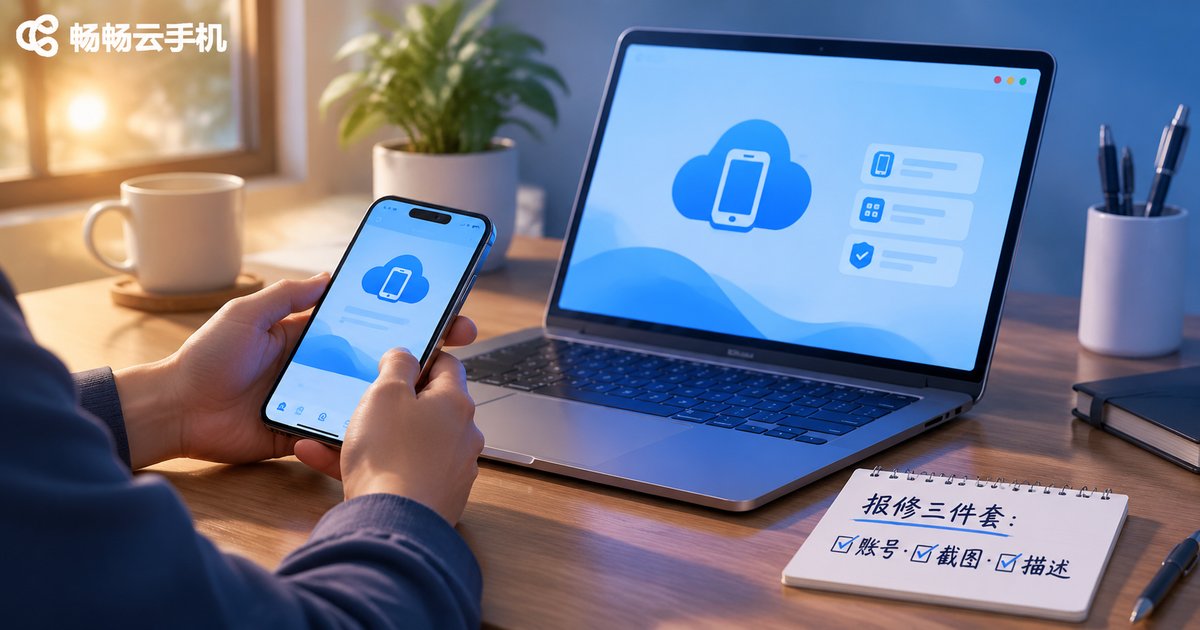
This article turns the preparation into a checklist: account details, screenshots or a recording, and a clear description of the problem. Go through it once and you will notice far fewer back-and-forth messages.
Step one: account details — the right ones, not all of them
Support locates your instance first, so have these ready:
- Registered phone number or account: for identity verification.
- Instance name or ID: if you run several, be specific about which one.
- Activation date: helps confirm the instance status.
- Time the problem started: hour-level precision is better, since it helps match logs.
One important reminder: never send login passwords, verification codes or payment passwords. A legitimate support process will not ask for them. If someone does, treat it as a warning sign.
Step two: screenshots and recordings beat a hundred words
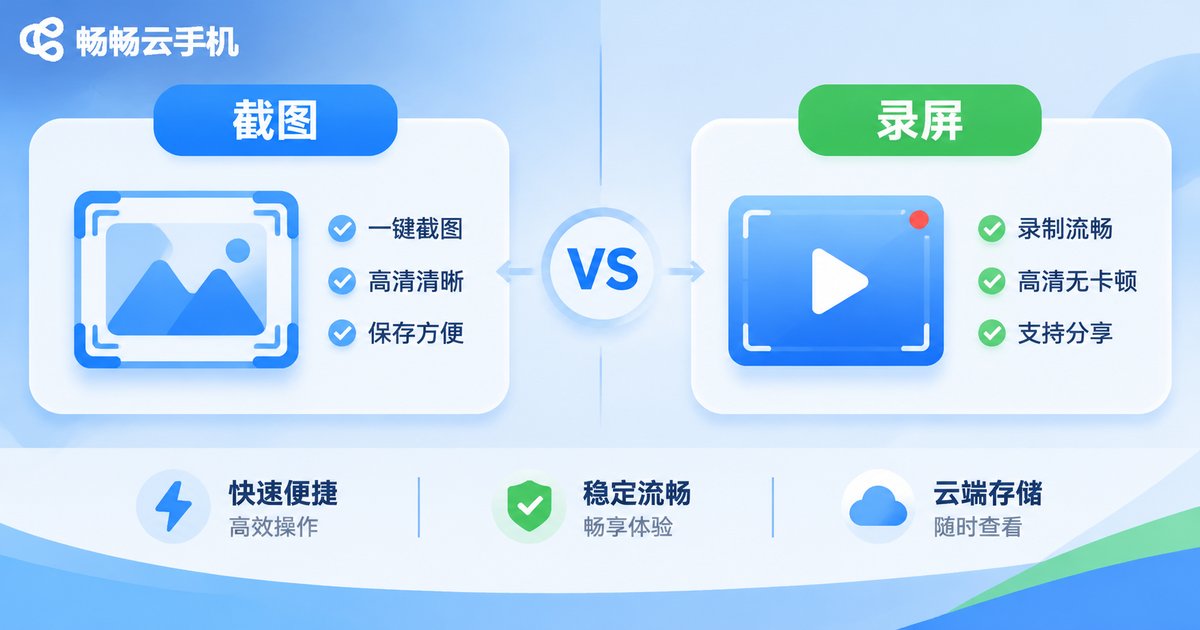
“Black screen”, “frozen” and “cannot connect” can mean very different things to different people. One screenshot removes the ambiguity instantly.
Try to include three kinds of information in a screenshot:
- The original error text: including error codes and messages, uncropped.
- Interface state: the cloud phone display, connection status, remaining time and so on.
- Time information: the clock in the status bar helps support align the logs.
If the problem is dynamic — crashes, repeated reconnects, stuttering video — a screen recording is far more convincing than a screenshot. Show what you tapped first, then let the problem happen naturally. Do not record only the last second of the result.
| Method | Best for | Watch out for |
|---|---|---|
| Single screenshot | Error pop-ups, abnormal status, display errors | Keep the full error text, do not crop the edges |
| Multiple screenshots | A failure at one specific step of a workflow | Number them in order and add one line of explanation each |
| Screen recording | Crashes, lag, auto-disconnect, repeated reconnects | 10–30 seconds is enough, start recording from the action |
Step three: describe the problem in five sentences
A good description does not need elegant writing, just information density. Write these five sentences and you will usually get it right the first time:
- Which device: the cloud phone instance name or ID.
- When: when it first appeared, and whether it is occasional or always reproducible.
- What you did: what you tapped and which app you opened before it broke.
- What you saw: the concrete symptom, ideally with the error text.
- What you tried: restart, network switch, app reinstall — and the result.
Compare the two versions:
❌ “My cloud phone is broken, fix it fast.”
✅ “Instance A-02. Started around 14:20 today. After opening an app, the picture froze while the audio kept playing. I restarted the cloud phone and switched from Wi-Fi to mobile data, but after reconnecting it froze on the same frame. 15-second recording attached.”
With the second version, support can usually tell immediately whether it is an app rendering issue or a connection-path issue.
A self-check list before you submit
Spend two minutes on this before opening a ticket and you will filter out a fair number of “false faults”:
| Check | How to do it |
|---|---|
| Local network | Switch between Wi-Fi and mobile data and see whether the symptom changes |
| Cloud phone restart | Shut it down completely and start again, not just send it to the background |
| The app itself | Log into the same app on another cloud phone to see whether the app is the cause |
| Storage space | Check whether the instance has run out of space |
| Client version | Confirm the app is updated to the latest version |
Include the self-check results in your description too. “What I already ruled out” is worth more than “I did nothing”.
How to use the support channel on ccloudphone
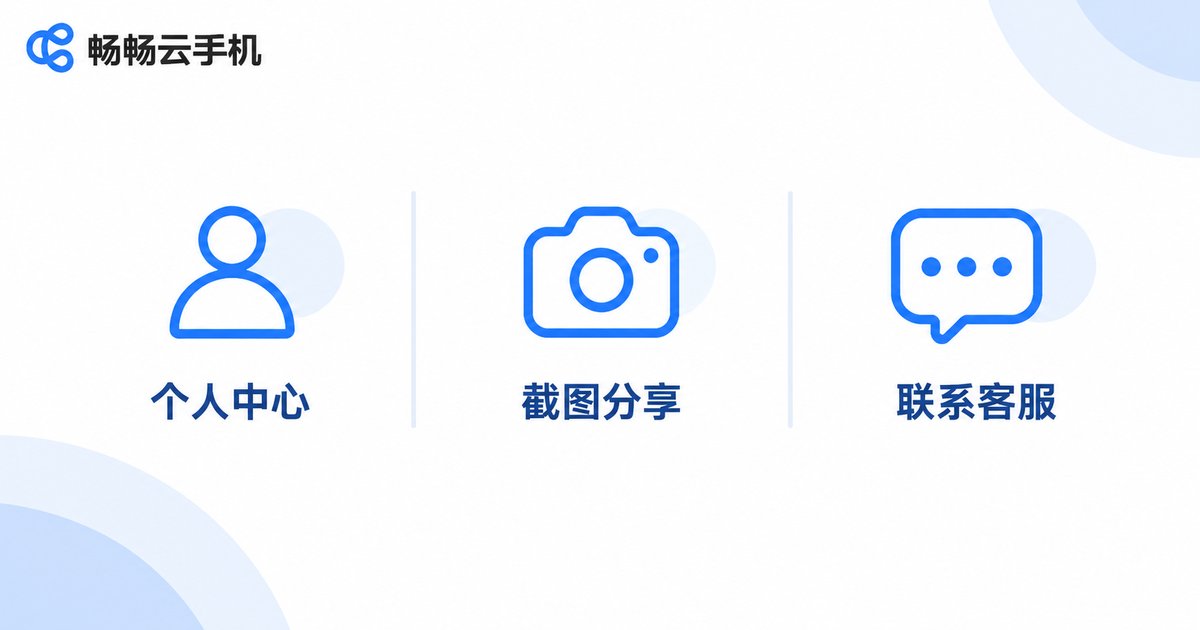
If you are using ccloudphone, start with the basics inside the client: confirm the instance status is running, try restarting the instance, check your local network, then submit the issue through the official channel. Attach all three prepared items at once — account and instance details, screenshots or a recording, and the structured description of the symptom.
Many problems that look “serious” turn out to be network fluctuation or app compatibility. An accurate description of what you saw shortens the troubleshooting path considerably and gets you back to normal use faster.
Frequently asked questions
Q1: Do I have to give my phone number to report an issue?
Usually you need a contact method linked to your account so support can verify identity and follow up. You never need to provide your login password or verification codes.
Q2: My screenshot contains chat history or account information. What should I do?
Mask the sensitive areas, but keep the error text and interface state intact — otherwise the screenshot loses its value.
Q3: The problem only happens occasionally and I cannot capture it. What now?
Start a screen recording before you operate, or note roughly when and how often it happens, for example “two or three times a day, mostly after switching apps”. The timing helps support read the logs.
Q4: Is a longer description always better?
No. Follow the structure of device, time, action, symptom and checks already made — five sentences are enough. Long unrelated paragraphs bury the key details.
Q5: How soon will I get a result after submitting?
It depends on the type of issue. Tickets with complete information are located faster; if deeper investigation is needed, support may ask for a recording or reproduction steps, and having them ready saves a round trip.
Save this checklist. Next time your cloud phone misbehaves, prepare the three items in order before you hit submit — the difference in communication efficiency is obvious.