
How to Use Cloud Phone Custom Images: App Installation Scope & Network Whitelist Configuration Guide
What Is a Cloud Phone Custom Image?
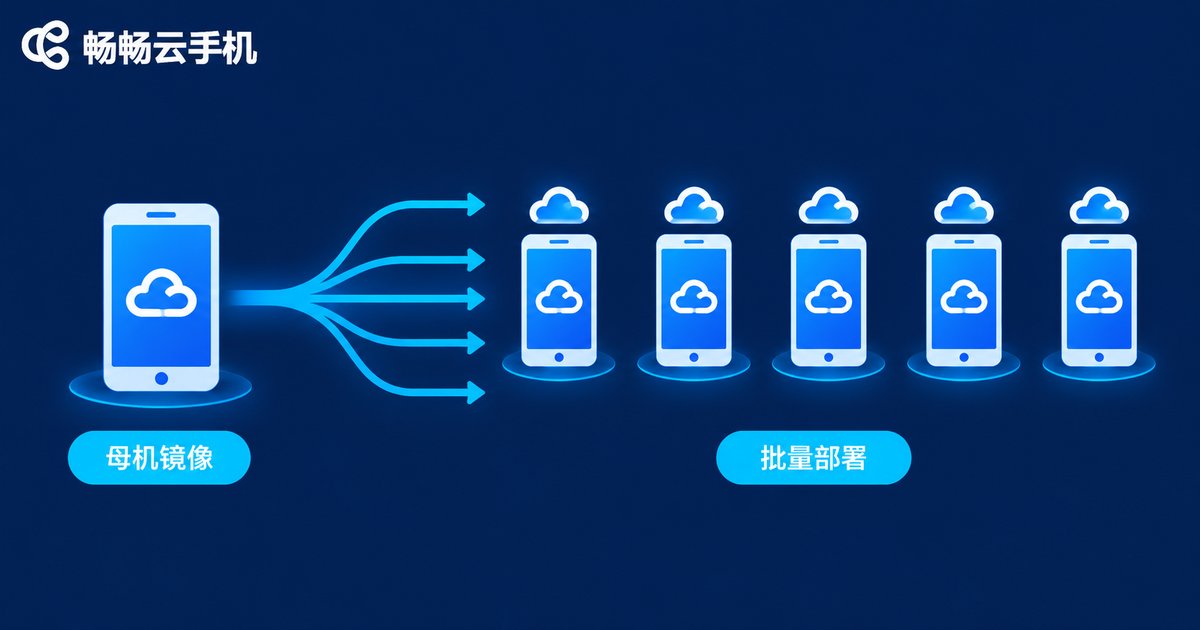
Newcomers to cloud phones often ask: if I own dozens of cloud phones, do I really have to install apps and adjust settings one device at a time? Absolutely not. The custom image is the core feature built to solve exactly this problem — you configure one cloud phone to your ideal state, with apps installed and settings tuned, save it as a master image, then replicate it across every other device in one click.
Think of a custom image as a cooking recipe: season it once, and every batch tastes exactly the same. For teams managing cloud phones at scale, this feature compresses hours of repetitive work into just a few minutes.
Three Core Configurations of a Custom Image
A complete custom image strategy usually involves three layers of control, which are also the focus of this guide:
| Configuration | What It Controls | Typical Use Case |
|---|---|---|
| Pre-installed app list | Which apps come out of the box | Batch-deploying work devices |
| App installation scope | Which apps may be installed later | Preventing unauthorized software |
| Network access whitelist | Which addresses can be reached online | Focused work, security compliance |
These three settings work together: the image defines what you get at startup, the installation scope defines what can be installed later, and the whitelist defines where the device can go online. Only when all three are combined can you build a cloud phone environment that is controllable, manageable, and replicable.
App Installation Scope: A Four-Step Tutorial
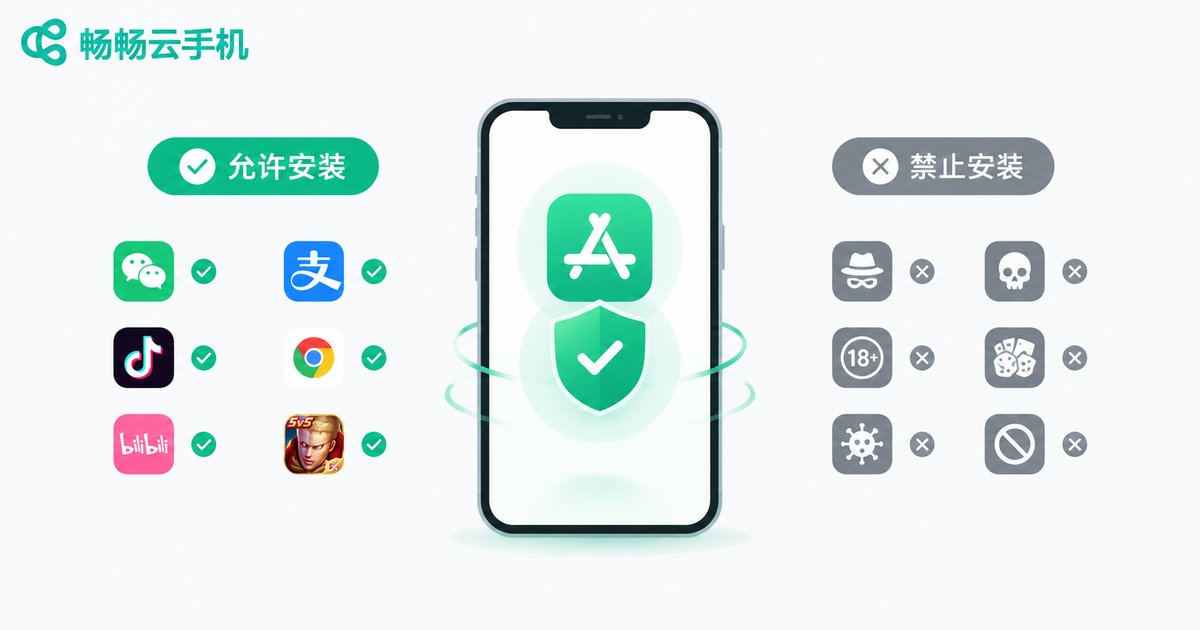
App installation scope defines which apps are allowed on a given cloud phone or device group. The approach is simple: define the list first, then lock down permissions.
Step 1: Build your app list. Identify exactly which apps your business needs and write them down. A short-video operations team, for example, usually only needs an editing tool, a publishing tool, and one or two browsers — everything else stays off the list.
Step 2: Pre-install core apps on the master device. Install every app on your list into the cloud phone that will serve as your template, so the image works out of the box once deployed.
Step 3: Set installation permissions. In the cloud phone management console, locate the app installation scope settings. Three modes are typically available:
| Mode | Behavior | Best For |
|---|---|---|
| Fully open | Any app can be installed freely | Individual users, testing |
| Whitelist mode | Only listed apps can be installed | Enterprise fleet management |
| Fully locked | No new apps can be installed | Display or dedicated devices |
Step 4: Save and sync into the image. Once configured, make sure the settings are saved into the custom image itself, so every cloud phone created from it automatically inherits these rules — no per-device setup required.
Network Access Whitelist: Step-by-Step Configuration
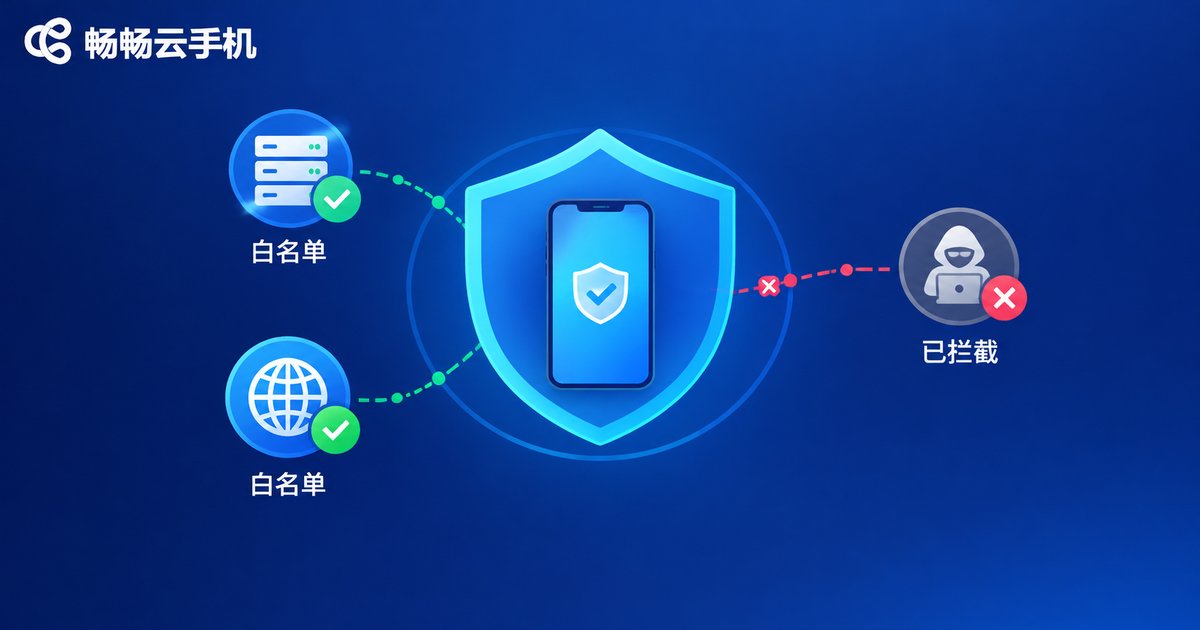
A network access whitelist, in plain terms, defines which websites and servers a cloud phone may reach: addresses on the list pass through normally, while everything else gets blocked. It helps in three main ways:
First, focused work — only business-related sites are reachable, so devices cannot be used for video or gaming. Second, security and compliance — suspicious sites are blocked, reducing the risk of data leaks. Third, bandwidth savings — unnecessary background requests are filtered out, keeping bandwidth for real work.
Step 1: Map your business domains. List every domain and API endpoint your business requires. Run through the entire workflow once on a test device and record every address it contacts.
Step 2: Enter the whitelist. Add domains one by one in the network whitelist section of the management console, and write them in full — for example, api.example.com. If your business spans multiple subdomains, a wildcard entry can cover them all at once and reduce omissions.
Step 3: Enable blocking mode. Switch the network access mode from unrestricted to whitelist-only, then save.
Step 4: Validate on a small scale first. Enable the whitelist on one or two devices and run through core flows such as login, checkout, and upload. Only after confirming nothing is missing should you roll it out to the whole device group. Never skip this step — a single missing payment or login domain will break the workflow immediately.
Post-Configuration Checklist and Troubleshooting
After everything is configured, run through this quick checklist:
1. Open a whitelisted website and confirm it loads normally.
2. Open a non-whitelisted website and confirm it is properly blocked.
3. Try installing an app outside the approved list and confirm the installation scope works.
4. Run the full core business workflow once and confirm nothing malfunctions.
When problems do appear, they almost always come down to three causes: a missing domain (some step in the workflow uses a CDN or endpoint you forgot to whitelist), a typo in a domain (an extra space or a dropped subdomain), or an unsynced configuration (settings changed but not saved into the image). Checking in that order resolves most issues quickly.
Manage Your Cloud Phone Fleet with CCloudPhone
If you are looking for a cloud phone service that supports an image-based deployment workflow and batch management, take a look at CCloudPhone. It provides Android cloud devices that stay online around the clock, with multi-app instance support and group control management, well suited to multi-account gaming, short-video operations, and bulk account management. Through the management console you can organize devices into groups and, combined with the image-based deployment approach described in this guide, keep every device consistently configured while eliminating repetitive setup work.
To try it, simply visit the official CCloudPhone website and register — the interface is clean and easy for beginners to pick up.
FAQ
Q: Does a custom image also copy personal data?
The image stores the system environment and apps you deliberately configured. Clean off unrelated personal data before creating the image so the master device stays tidy and every deployed device comes out consistent.
Q: After enabling the whitelist, some in-app features stopped working. What should I do?
Most likely a domain that feature depends on was not whitelisted. Record network requests on a test device, identify the missing domains, and add them to the whitelist to restore functionality.
Q: Can the app installation scope and whitelist be changed later?
Yes. Both settings can be adjusted at any time; sync the changes to the affected devices or image to take effect. Validate each change on one or two devices before applying it fleet-wide.
Q: How many cloud phones can one master image be deployed to?
The limit depends on the device capacity of your chosen plan, and you can generally scale up as needed. The safe approach is to validate the image on a small batch first, then deploy broadly.