What Is the Cloud Phone Console Operation Flow? Complete Steps from Registration to Instance Allocation
What Is a Cloud Phone Console? Understand It Before You Start
Everyone new to cloud phones asks the same question: what exactly is the console? Simply put, the console is the command center for all your cloud phones. Creating devices, grouping them, installing apps, and checking running status all happen here.
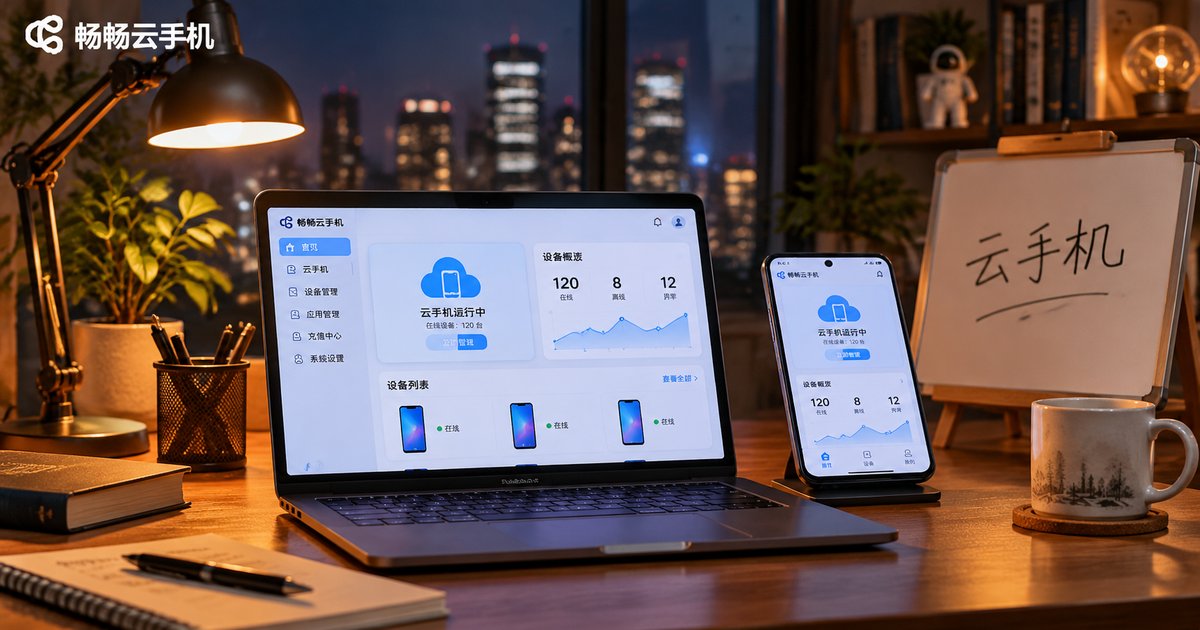
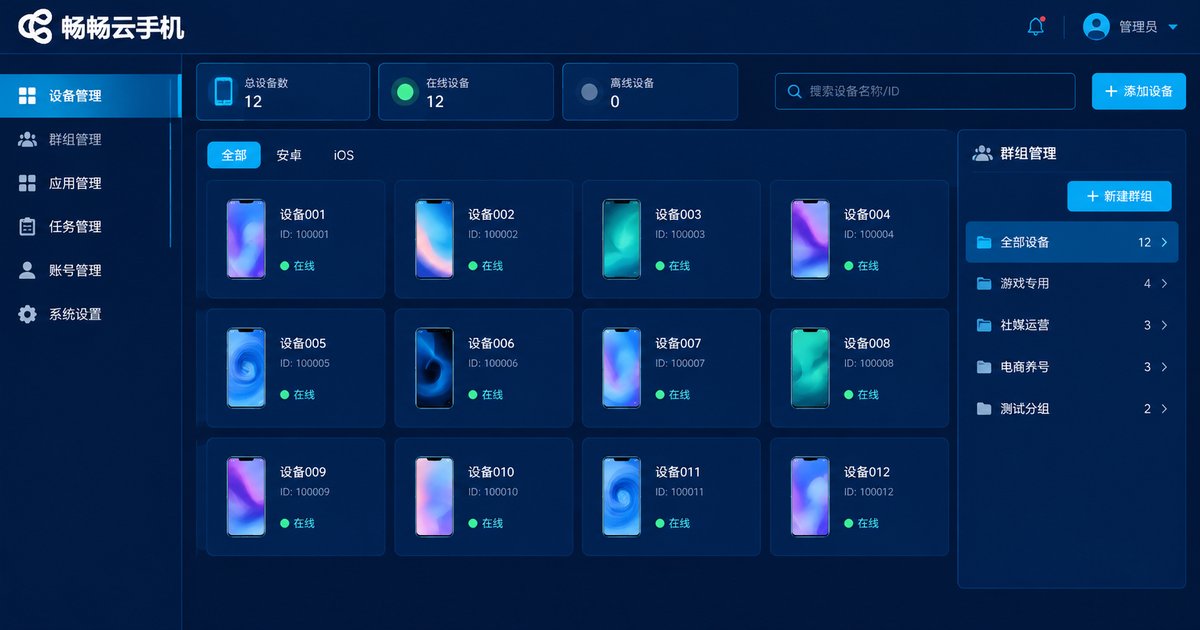
Take ccloudphone as an example: the console is fully web-based, so there is no extra software to install. Just open your browser and log in. Every cloud phone instance appears as a card or list item with its online status and configuration visible at a glance, so even complete beginners understand the interface within minutes.
Step 1: Register an Account
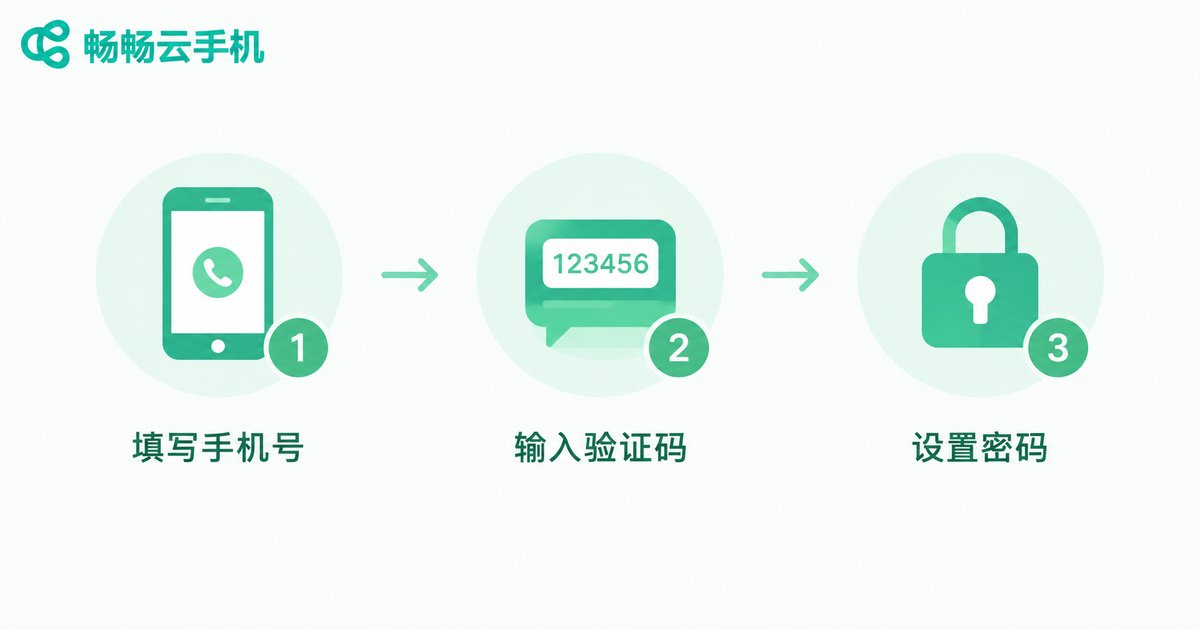
Using a cloud phone starts with registration, and the process is as simple as signing up for any website: open the ccloudphone official website, click the sign-up button, verify your phone number with an SMS code, and set a login password. Use a phone number you check regularly so you can receive device alerts and recover your password easily. After registering, the system takes you straight to the console home page.
Step 2: Log In and Learn the Layout
Log in with your phone number and password. On your first visit, spend two minutes getting familiar with the key areas: the device list shows every instance you own and can be filtered by status; the create button adds new cloud phone instances; the group management area organizes devices by project or purpose; and the account center holds your plan, balance, and usage records. All frequent actions live within one or two menu levels, so there is no endless page hopping.
Step 3: Create a Cloud Phone Instance
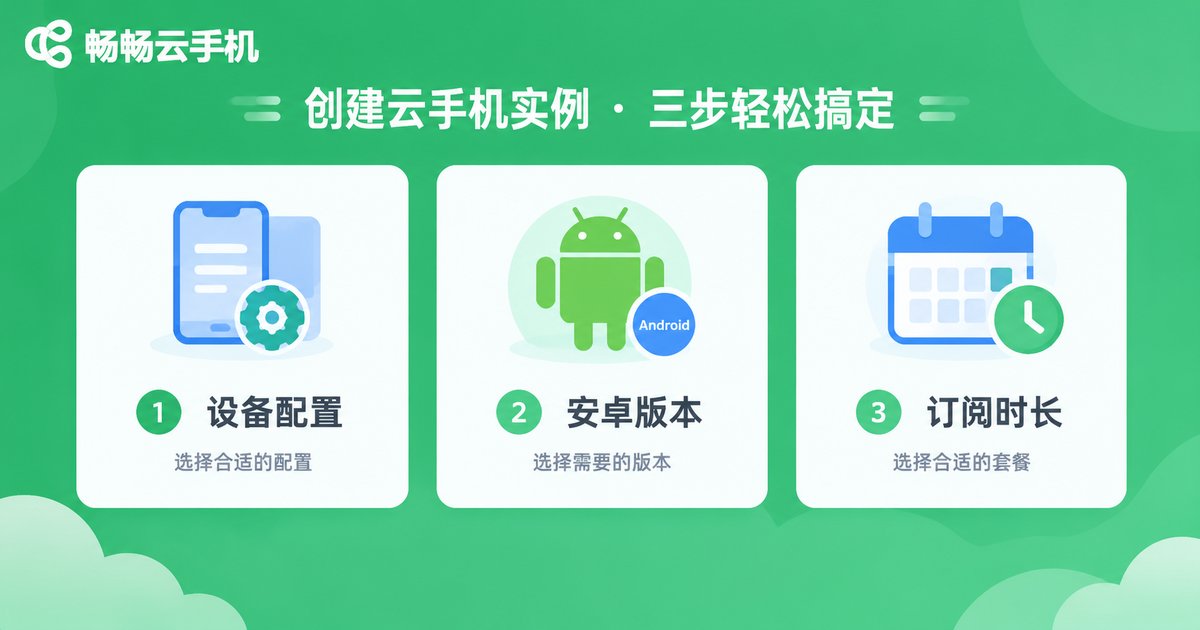
Creating an instance is the core console operation. After clicking create, you make three choices: the device configuration, matching CPU, memory, and storage to the apps you plan to run; the Android version, since different apps have different requirements; and the subscription duration. Confirm the order and complete payment, and the system provisions the instance automatically within seconds to a few minutes - the new device soon shows as running in your list.
Step 4: Allocate Instances and Manage Groups
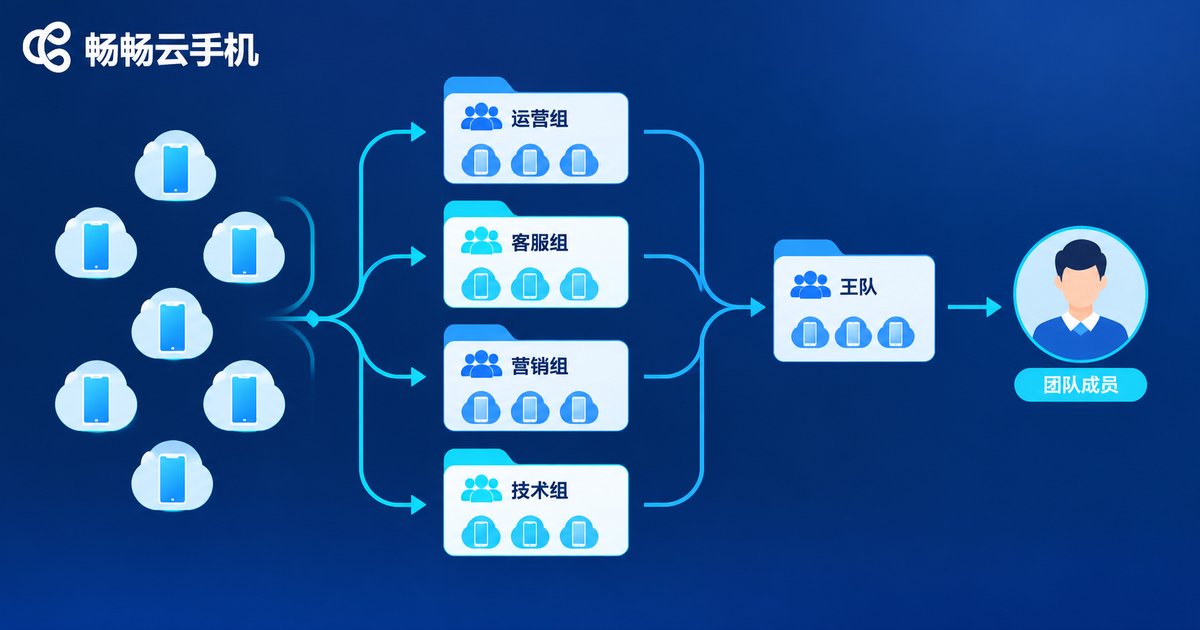
Once your cloud phone count grows, allocation and grouping become essential. Sensible groups let you locate any device instantly among dozens or hundreds: create groups named by business line, project, or region; assign instances to the right group; and move devices between groups anytime. For team collaboration, devices can be assigned to different member accounts, so each person sees only the phones they are responsible for - clear permissions, zero confusion.

Step 5: Connect and Start Using Your Cloud Phone
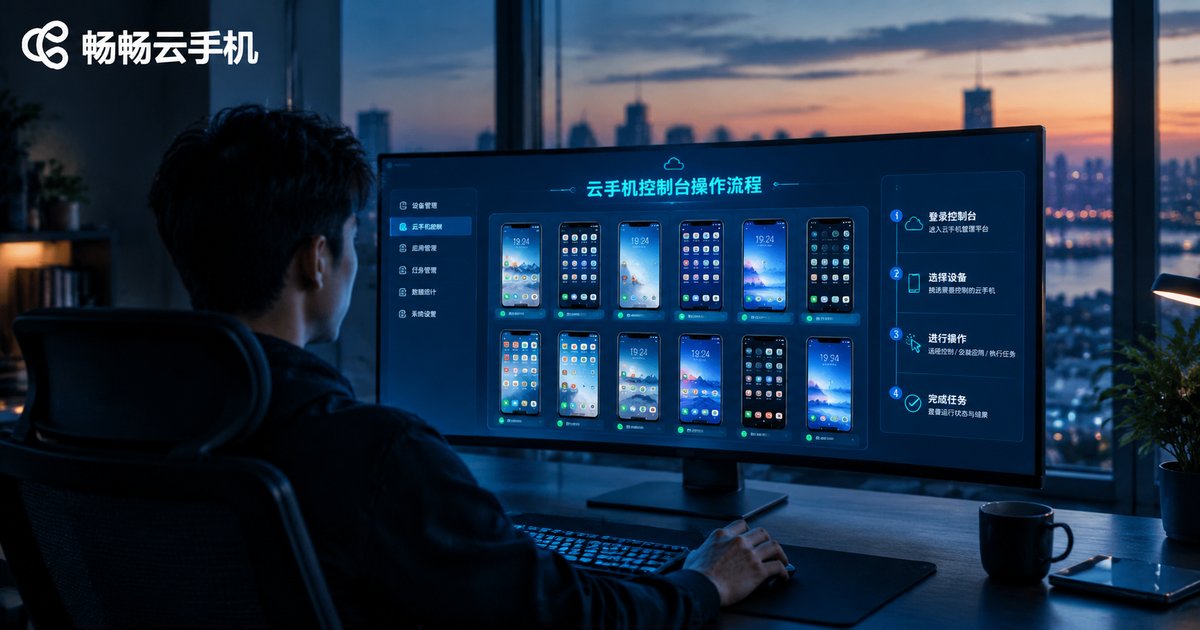
With the instance created and allocated, click the connect button on its card and the phone screen appears right in your browser. It responds in real time, and you tap, swipe, and install apps just as you would on a physical device. When the same action is needed on many phones, use batch control: select multiple devices and install apps or run tasks across all of them in one go, eliminating hours of repetitive work.
Step 6: Daily Operations and Monitoring
In daily use, the console doubles as your operations hub. Check the online status and running condition of every device at any time; shut down or restart phones you are not using; and recover quickly from glitches with a restart. A regular inspection habit keeps your entire fleet stable over the long term.
| Action | Where | Use Case |
|---|---|---|
| Create instance | Create button on console home | Adding devices |
| Group management | Group management area | Organizing many devices |
| Batch actions | Select devices in the list | Installing apps, running tasks |
| Restart or shutdown | Device card menu | Maintenance and recovery |
FAQ
Q: What do I need to register a cloud phone account?
Just a phone number that can receive SMS codes. The whole process takes a few minutes with no complicated paperwork.
Q: How soon can I use an instance after creating it?
Provisioning starts automatically after payment. The device usually shows as running within seconds to a few minutes and is ready to connect.
Q: Can I log in to the console from multiple computers?
Yes. The console is a web app, so any device with a browser can manage your cloud phones under the same account.
Q: After assigning devices to team members, can I still manage them?
Yes. The main account keeps full permissions and can view all devices, adjust assignments, or take devices back at any time.
Q: What if I forget my password?
Click forgot password on the login page and reset it after verifying your identity with your registered phone number.