How to Use the Camera on a Cloud Phone: Permissions, QR Scanning and Photo Capture
First, Understand This: The Camera Belongs to the Device in Your Hand
A cloud phone is an Android device running in the cloud, and it has no physical lens. So when you tap “Scan” or “Take a photo” inside an app on a cloud phone, the image is actually captured by the front or rear camera of the phone or computer in your hand, then streamed up to the cloud device in real time.
Once you understand this, about 90 percent of “the camera doesn't work” problems point in one direction: nothing is broken, one link in the permission chain is missing. That chain has three parts: the system permissions on your local device, the client app's permission to use the camera, and the camera permission of the app running inside the cloud phone. All three must be open for the picture to arrive.
Step One: Open All Three Permission Layers
Layer one: local system permissions. On Android, go to Settings → Apps → CcloudPhone → Permissions and set Camera and Storage / Photos to Allow. On iPhone, open Settings → CcloudPhone and turn on Camera and Photos. If you are on a desktop client, click Allow when the system asks for camera access.
Layer two: the cloud phone client's own authorization. The first time you trigger the camera inside a cloud phone, the client shows a prompt asking whether it may use your local camera. Choose Allow, and tick “Remember my choice” so you do not have to confirm it again.
Layer three: the app permissions inside the cloud phone. Go back to the cloud phone desktop, open Settings → Apps → the app you need (WeChat, Alipay, a game, and so on) → Permissions, and allow Camera and Storage. This is the step most people miss, because they only configure the phone in their hand and forget the Android device in the cloud also needs a tap.
If you install a utility app inside the cloud phone, open it once right after installation and clear all permission pop-ups in one go, so you are not interrupted halfway through a task later.

Step Two: How to Scan QR Codes
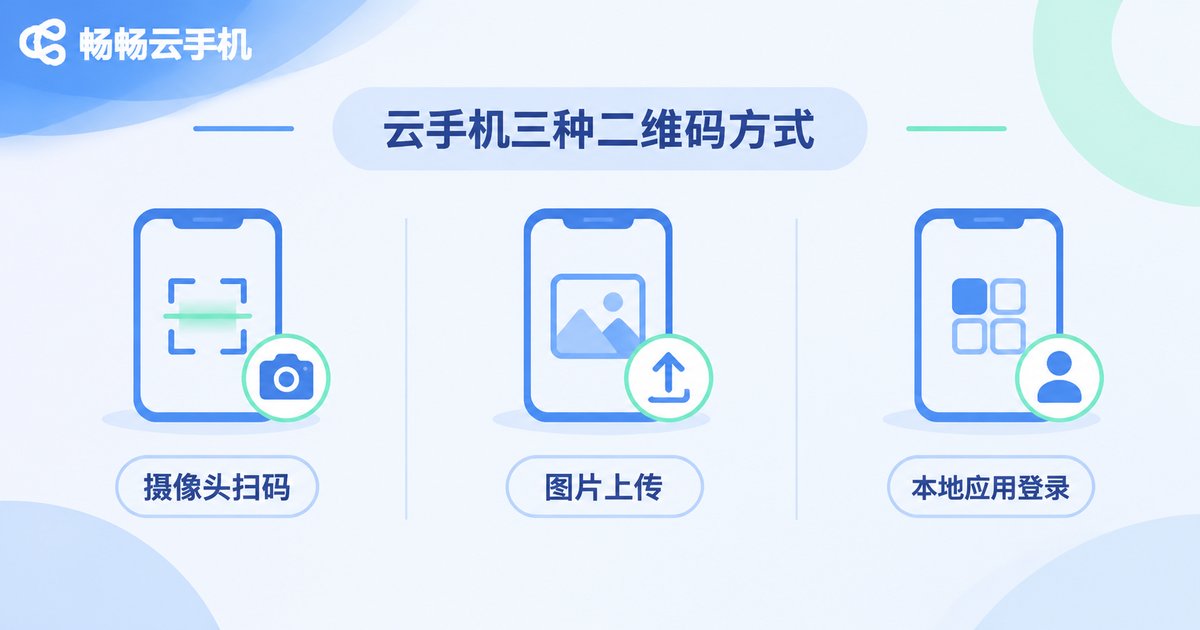
Scanning is the most common reason to call the camera on a cloud phone: logging in, making a payment, adding a contact, or signing into a game. There are three ways to do it, so pick the one that fits the situation.
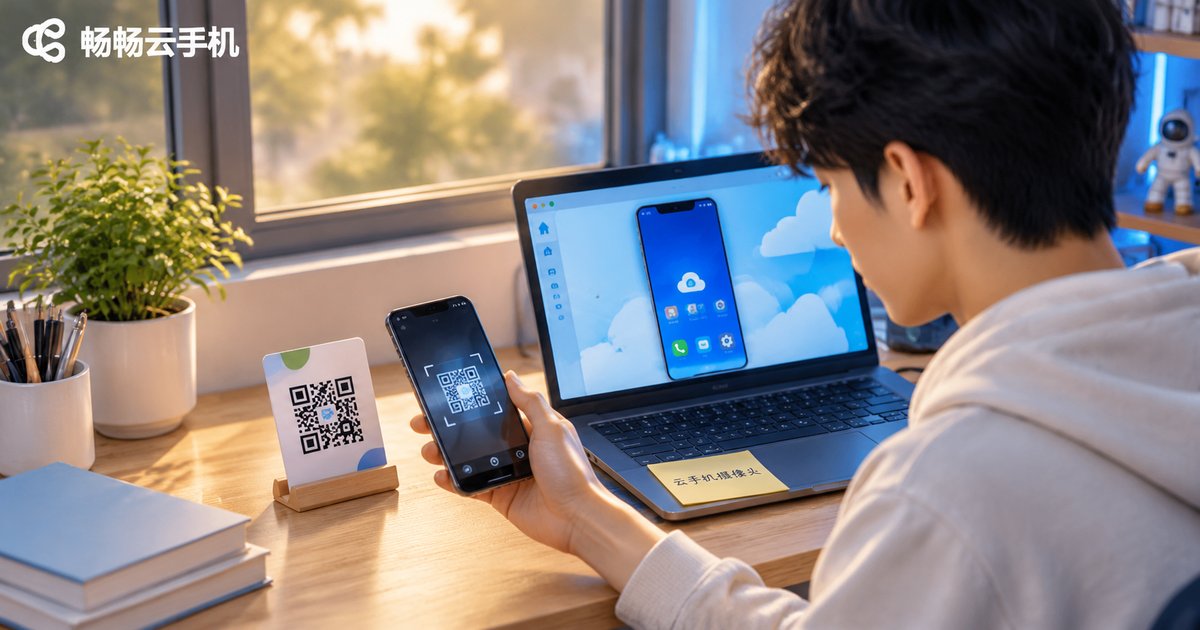
Method one: scan inside an app on the cloud phone. Open WeChat, Alipay or your game inside the cloud phone, tap Scan, and aim your local camera at the QR code. The viewfinder appears in the cloud interface. Keep the lighting bright and the whole code inside the frame, and do not hold the phone too close or too far.
Method two: upload the QR code image. If the code appears on your computer, or someone sent you a screenshot, skip the camera entirely. Upload the image to the cloud phone's gallery, tap the gallery icon in the scanning screen, and select the picture. This is the most reliable route and works best for codes that never change, such as a permanent login code.
Method three: scan with the local app to sign in. When signing in to your CcloudPhone account, you can scan the QR code shown on the desktop or web page with the client on your local phone. That path uses the local camera only and has nothing to do with the cloud phone's internal permissions, so it works even before those are configured.
Step Three: Photo Capture and Image Upload Are Two Different Things
Many users assume any task that needs a picture also needs the camera. That is not true. Image needs on a cloud phone fall into two categories, handled in completely different ways.
Scenarios that need a live picture, such as face verification, scanning a live QR code, or previewing a camera feed, must go through the camera, so the whole permission chain has to be open.
Scenarios that only need an existing image, such as setting an avatar, submitting an ID photo, uploading a game screenshot, or attaching a file to a form, can skip the camera entirely. Transfer the picture to the cloud phone's files or gallery first, then choose “Pick from gallery” inside the app. It is faster and far more stable.
One quick tip: check free storage on the cloud phone before uploading. When space runs out, uploads fail silently and it looks like the picker simply does not work.
Troubleshooting Table
| Symptom | Likely Cause | Fix |
|---|---|---|
| Scan button does nothing at all | The client has no local camera permission | Open system settings and grant camera access to CcloudPhone |
| Interface loads but the preview is black | The local camera is used by another app | Close the competing app and re-enter the scanner |
| Message says “no camera permission” | The app inside the cloud phone lacks permission | In the cloud phone, go to Settings → Apps → Permissions and allow Camera |
| QR code will not register | Glare, blur, or wrong distance | Improve the lighting, hold 15 to 25 cm away, or switch to image upload |
| Photo taken but cannot be found | Storage is full or not authorized | Free up space and enable storage permission |
| Image upload spins forever | Unstable network or an oversized file | Switch networks and compress the image before retrying |
A Few Tips That Improve Success Rates
- Turn up screen brightness before scanning, center the code, then slowly pull back. This beats waving the phone around.
- For a QR code that never changes, such as a long-term login code, save it as an image and upload it instead of aiming the lens every time.
- Keep your scanning apps together on the first home screen of the cloud phone to avoid constant switching.
- Always tap Allow on permission prompts first. If you later stop needing it, turn it off in settings then, not at the critical moment.
- If scanning keeps failing, restart the cloud phone instance. It usually works better than tapping the button repeatedly.
Why CcloudPhone Makes This Smoother
The camera experience on a cloud phone depends heavily on how stable the client's camera bridge is and how fast files move between the two sides. CcloudPhone (ccloudphone) connects your local device and the cloud so the camera feed can be delivered into the cloud Android system in real time, while images and files drop into the cloud gallery through an upload channel, with no cables or complicated setup.
It runs a full Android environment, and app permission management inside the cloud phone follows the same logic as a real device. The camera and storage permissions you would grant on a physical phone are the same ones you grant here, so the learning curve is minimal. A cloud phone also stays online for long periods, which suits repetitive work such as scanning to sign in or uploading images on a schedule, and saves you from picking up and putting down your local phone all day.
You can find more product details on the CcloudPhone official website and choose the configuration that fits your use case.

Frequently Asked Questions
Q: Does a cloud phone have its own camera?
No. A cloud phone is an Android device running in the cloud with no physical lens. It uses the camera of your local phone or computer to capture the picture.
Q: Why does my local phone show nothing when I scan inside the cloud phone?
Most likely the local system permission is missing. Go to Settings → Apps → CcloudPhone → Permissions, allow Camera and Storage, and try again.
Q: Can I scan a QR code without turning on the camera?
Yes. Save the QR code as an image, transfer it to the cloud phone gallery, and select that image from the scanning screen. It is more reliable.
Q: Where are photos taken on a cloud phone stored?
In the gallery directory of the cloud Android device. You can find them in the cloud file manager or export them to your local device through the client.
Q: What should I do if image uploads keep failing?
Check free storage on the cloud phone first, then check the file size. Compress large images before retrying and make sure the network connection is stable.
Q: Why is the scanning preview laggy?
Usually it is network jitter delaying the camera feed. Switch to a more stable connection, or upload the QR code as an image, which noticeably improves the experience.