How to Log In to Your Cloud Phone App After Download: Account Registration and Basic Setup Guide
You Have Installed the App — Now What?
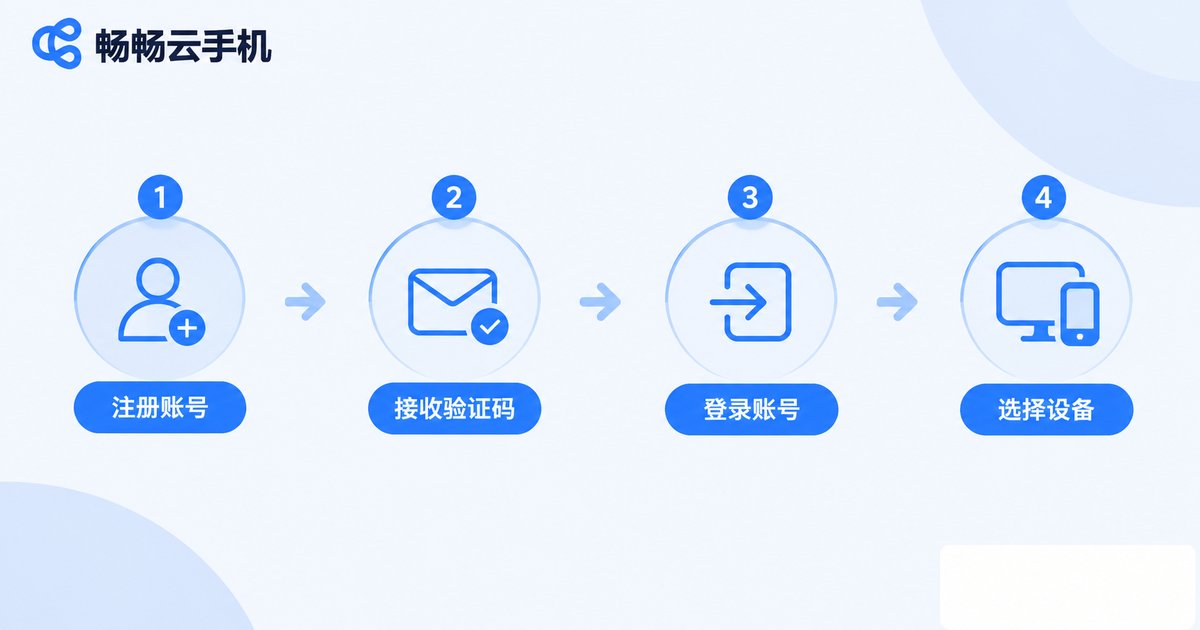
Many people open a cloud phone app for the first time, see the login screen, and pause: do I need to enter a phone number, how long does the verification code take, and what else needs configuring once I am in? The process is simpler than it looks. It comes down to four steps: register → log in → pick a device → adjust settings. Get these right once and you will not get stuck again.
One thing worth understanding first: a cloud phone is not like a regular phone. The actual Android system runs on a server in the cloud, and the app on your phone only displays the screen and forwards your taps. Logging in is essentially linking your account to that cloud device — which is why you see a brand-new phone after signing in.
Step 1: Create Your Account
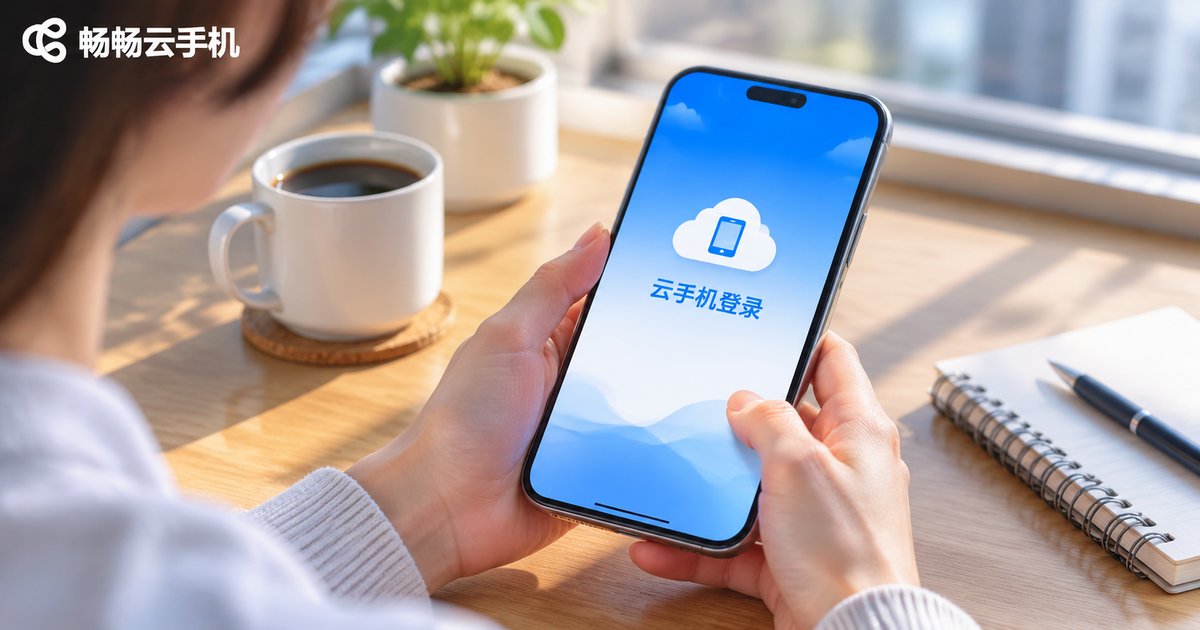
When you open the app, the home screen usually has a clear login entry point. New users should go to the login page and find the registration option rather than tapping a guest mode, which can make switching to a real account more awkward later.
Most cloud phone products offer three ways to register:
| Method | Best for | Notes |
|---|---|---|
| Phone number | Most users | Requires an SMS code; the number must be able to receive messages |
| Email address | Users who prefer not to share a phone number | Verification emails often land in the spam folder |
| Existing account login | Returning users on a new phone | Data lives in the cloud, so switching devices changes nothing |
Choose a password that mixes letters and numbers. Avoid birthdays or sequences like 123456. A cloud phone account is usually tied to your cloud device and the apps inside it, so ten extra seconds on password strength is time well spent.
Step 2: The Three Most Common Login Problems
After registering, head back to the login page and sign in with your password or verification code. If something goes wrong, it is almost always one of these three:
The verification code never arrives. First check whether your phone is blocking or filtering messages. If you registered with email, check the spam folder. If it still does not arrive, switch networks (for example, from Wi-Fi to mobile data) and request a new code. Tapping the button repeatedly can actually trigger rate limiting.
The app says your password is wrong. Check capitalisation and make sure your keyboard is not inserting trailing spaces. After several failed attempts the account may enter a temporary protection state — simply wait a few minutes.
You are asked to bind or verify after logging in. This is normal account security. Follow the on-screen prompt and do not skip it.
Step 3: Basic Settings to Adjust First
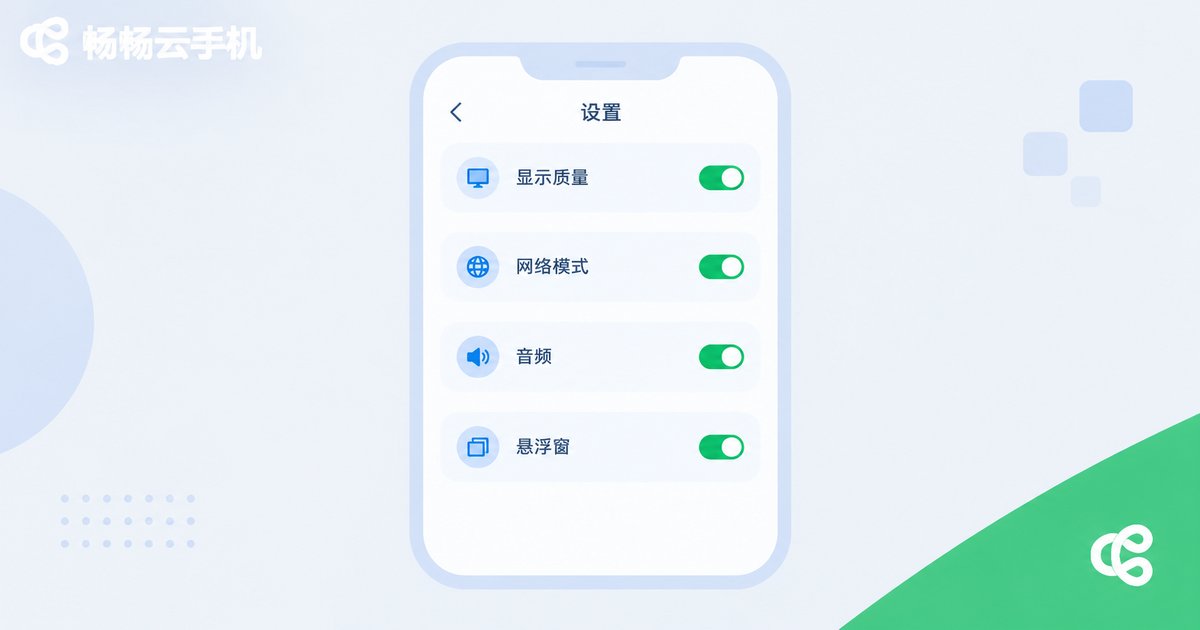
Once you reach the cloud phone home screen, what you see is a live stream from the remote device. Before installing anything, tune these settings for a smoother experience.
Display quality. The default usually balances bandwidth and smoothness. If you watch video or do precise work, raise the quality in settings. On a weak connection, choose a smoothness-first mode to reduce stutter.
Network mode. The cloud phone uses its own network in the data centre, but the link between your phone and the cloud depends on your local connection. Stable Wi-Fi performs noticeably better than mobile data, especially for long-running tasks.
Audio and notifications. By default, cloud audio plays through your local device. If you hear nothing, check the volume inside the cloud phone, your local media volume, and the app's audio permission.
Floating window and input assistance. A floating window lets you jump back into the cloud phone quickly after leaving the app. Input assistance simulates keys and gestures, which is handy for games and repetitive operations. You will need to grant the floating window permission the first time.
Background persistence. If you want tasks on the cloud phone to keep running, allow the app to run in the background and disable battery restrictions on your local device. Otherwise the local process gets cleaned up and it looks like the device went offline.
Step 4: Understand Your Cloud Device
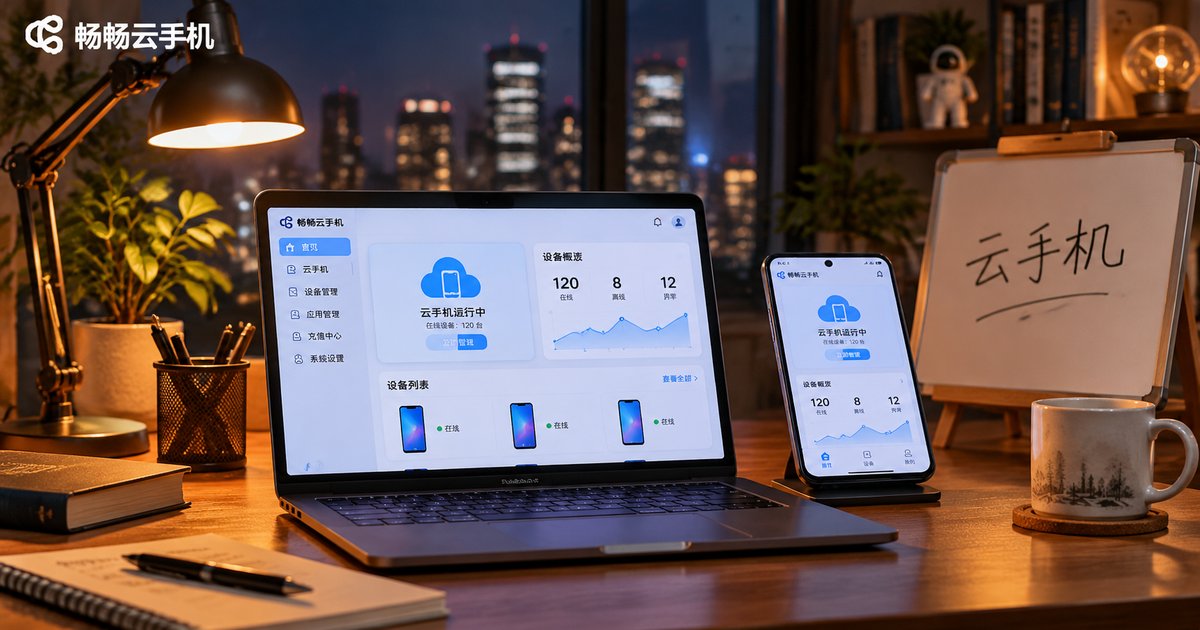
After login you will usually see your assigned cloud device in a list, showing its name, system version and status. A few concepts are worth learning early:
Cloud phones run 24/7. They live on servers in the data centre, so closing the local app usually does not stop cloud tasks. Sign in again later and the same screen is waiting for you. This is a big part of why people use cloud phones for long-running jobs.
One account can manage multiple devices. How many you can open and what specs they have depends on your plan. Check the current configuration options on the official Ccloudphone website for accurate details.
Data lives in the cloud. Changing phones or reinstalling the app does not affect the cloud device or the apps inside it. Just log back in.
Why Ccloudphone Is a Good First Cloud Phone
Ccloudphone runs Android in the cloud and needs only a lightweight app on your side to display the screen. For beginners, one advantage stands out: registration, login, the device list and basic settings all live in a single app. There is no bouncing between pages and no moment of "I registered, now where do I go?"
Other practical points: cloud devices run independently, so they do not consume your local storage or performance; you can log into the same account from a phone, tablet or computer; and while a long task runs in the cloud, your local phone stays free for normal use. The official website lists the full product documentation and configuration options, so check there rather than relying on third-party descriptions.
FAQ
Q: Do I have to register with a phone number?
It is the most common and convenient method because the SMS code verifies your identity. Whether email registration is supported depends on the options shown on the actual registration screen in the app.
Q: After logging in it says there are no available devices. What now?
Usually it means no device has been assigned to the account yet, or your current plan does not include one. Refresh the device list, check the device activation documentation on the official site, or contact official support.
Q: I never receive the verification code. Is the app broken?
Rule out SMS filtering, an expired or unpaid number, and weak signal first, then switch networks and request a new code. Repeatedly tapping the button within a short window can trigger anti-abuse protection, so wait at least a minute between attempts.
Q: Do I need to register again after changing phones?
No. Log in with the same account and password. Your cloud device and its data stay exactly where they were — one of the advantages over keeping a physical spare phone.
Q: The picture stutters after login. Is that a settings problem?
Check whether your local network is stable, then drop the display quality one level. Cloud phone image quality depends mainly on the link between your device and the data centre, not on server performance.
Q: Does the cloud phone keep running after I close the app?
Yes — it runs in the cloud, so closing the local app generally does not stop cloud tasks. If a task stops unexpectedly, check the device status and whether your account was signed out.