
Cloud Phone Android Tutorial: Download, Installation, Login and Basic Setup
What is a cloud phone on Android? First, how it differs from an emulator
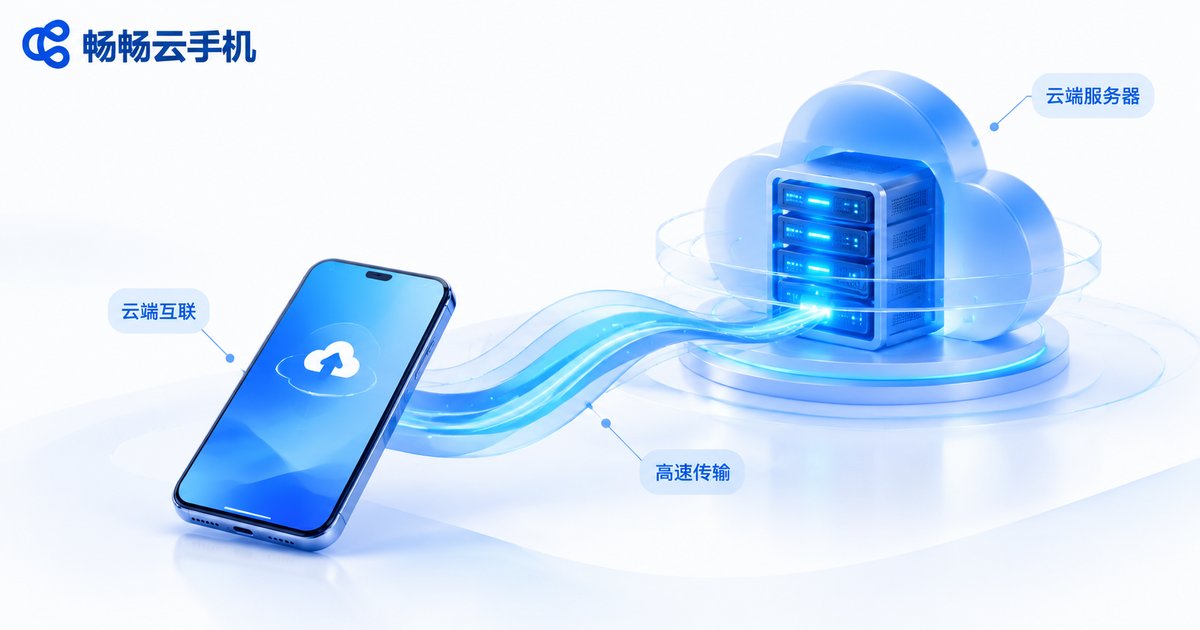
Put simply, a cloud phone is an Android device that lives in a data center and runs around the clock. Your games, apps and chat tools are installed on that remote device, while your own phone, tablet or computer only displays the screen and sends tap and swipe commands. That means it barely uses local storage and puts very little strain on your battery or processor.
It is not the same as an Android emulator on your PC. An emulator consumes your computer's CPU and memory and stops the moment you shut the computer down. A cloud phone runs on servers in a data center, so it keeps running even when your local device is off. That is exactly why idle tasks, multiple instances and long-running jobs rely on cloud phones.
The workflow is consistent everywhere: download a client app, register and log in, open a cloud phone instance, then use it like a real device. Below we walk through the whole process, from download to basic setup, using the ccloudphone Android client as the example.
Three things to prepare before downloading
Many beginners get stuck at the very first step. Confirming three things in advance makes the process much smoother:
| Item | Recommended | Why it matters |
|---|---|---|
| Network | Stable Wi-Fi or 4G/5G, avoid weak public networks | The cloud screen is streamed live, so a shaky connection shows up immediately as lag and dropped frames |
| Local storage | A few hundred MB of free space | The installer is small, but the first launch caches screen data |
| Account | A phone number that can receive SMS | Both registration and login require a verification code |
It is also worth updating your system to a reasonably recent Android version. Older systems occasionally cause black screens or permission pop-up issues.
Step 1: Download and install the Android client
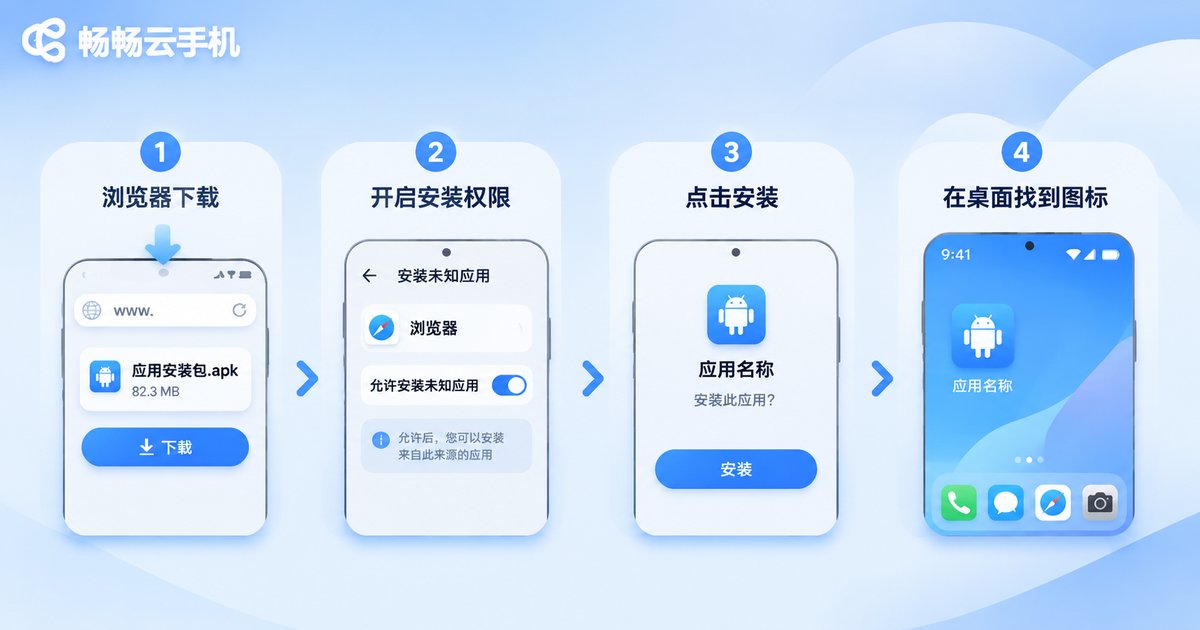
1. Open your mobile browser, go to the official ccloudphone website and find the download entry.
2. Choose the Android package and wait for the download to finish. It is usually only a few dozen megabytes.
3. When you tap install, the system may warn that installing apps from unknown sources is blocked. Tap the settings link in the dialog, grant the installation permission to your browser, and try again. You can revoke the permission afterwards.
4. Once installed, the ccloudphone icon appears on your home screen. On first launch the app may ask for notification and storage permissions. Allowing them is recommended, otherwise file uploads and background alerts will be limited.
If you see a package parsing error, the download was most likely incomplete. Delete the file and download it again.
Step 2: Register, log in and open your cloud phone
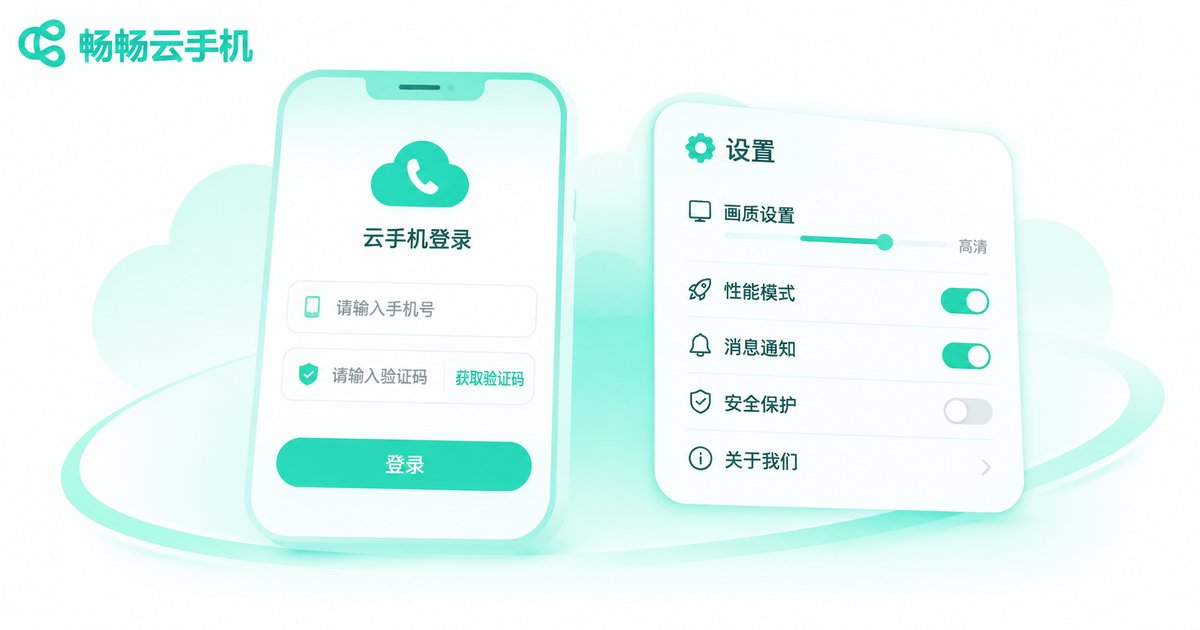
After launching the app you land on the login page. Enter your phone number, request an SMS verification code, accept the user agreement and you are registered and logged in. Existing users can log in with a phone number plus code, or with a password.
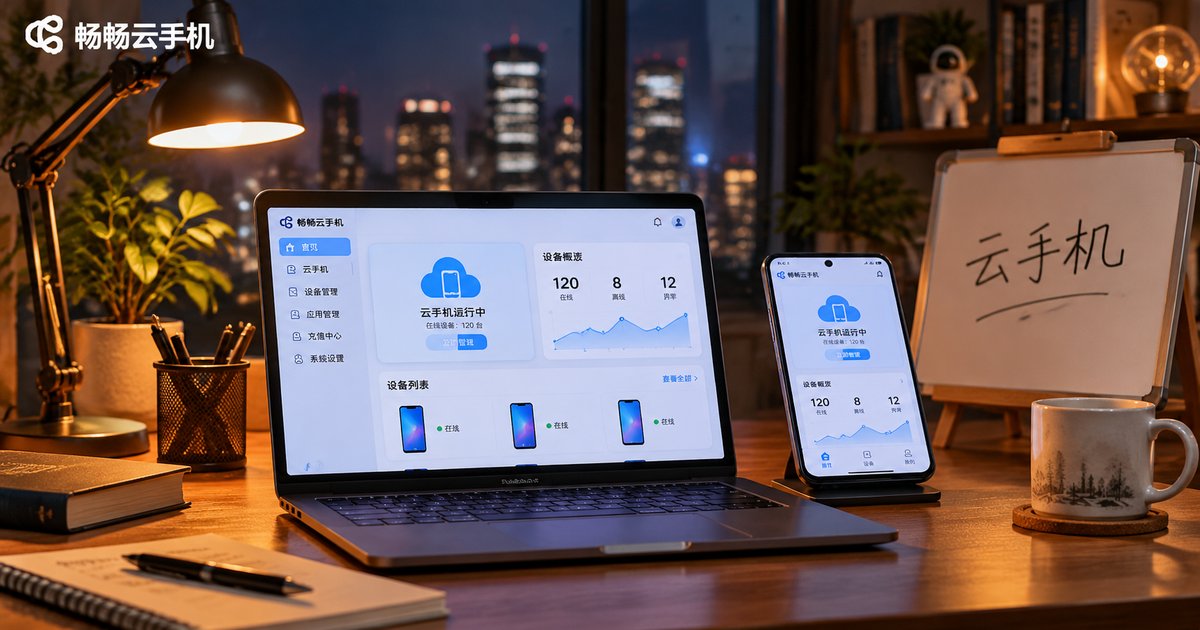
Once logged in you reach the device list, which shows the cloud phone instances under your account. Tap enter or connect and the remote device begins initializing. Within a few dozen seconds you should see the Android home screen.
One point that confuses beginners: the cloud phone is an independent device. Its apps and gallery are not shared with your local phone. If you have WeChat installed locally, it is not on the cloud phone. Anything you need must be installed inside the cloud instance separately.
Step 3: Adjust the basic settings for a smoother experience
Before installing apps, spend two minutes on the settings below. The difference in day-to-day use is significant:
| Setting | Recommended | Effect |
|---|---|---|
| Resolution and quality | Balanced for daily use, higher quality only on strong networks | Higher quality needs more bandwidth and lags on weak networks |
| Network line | Pick the lowest-latency node, switch lines when lagging | Directly affects tap response speed |
| Sound | On when you need alerts, muted for idle tasks | Saves data and reduces noise |
| Virtual keys / floating ball | Enable and place back and home keys where they feel natural | Cloud phones do not rely on local hardware keys |
| Auto screen lock | Set a long interval or disable | Prevents long tasks from being interrupted |
The settings panel is normally inside the floating toolbar at the edge of the screen, where you will find quality, network, sound and screen rotation options. If the picture looks blurry, first check whether it has dropped to low quality automatically rather than assuming a network problem.
Step 4: Try the everyday features once
After setup, run through these four actions and you have the basics covered:
Install apps: open the app market inside the cloud phone, or download an APK with the built-in browser. The process matches a real device.
Transfer files: use the client's upload entry to send photos and documents from your local device to the cloud, then save them inside the instance.
Manage multiple instances: rename and group instances in the device list so you can tell them apart by purpose.
Exit and keep running: check the status of running tasks before closing the client. The cloud phone keeps working in the background, and next time you log in you continue from the same screen.
Three mistakes beginners make
Mistake one: assuming closing the client shuts the device down. The instance keeps running and you return to the same screen next time, so log out of important accounts first.
Mistake two: forcing high quality on a weak network. The result is a choppy picture and delayed taps, which people often blame on the cloud phone's performance when the real limit is bandwidth.
Mistake three: ignoring permission dialogs. Denying storage permission during installation leads to failed file transfers later and a second round of setup.
FAQ
Q: Does the cloud phone Android client need a powerful local phone?
A: No. The local device mainly decodes the picture, so mid-range and even several-year-old Android phones run it smoothly. The real computing power sits in the cloud.
Q: The installer is flagged as risky and will not install. What should I do?
A: This is the standard Android block on browser downloads. Go to the install unknown apps setting, grant the permission to your browser and retry.
Q: I logged in but cannot see my cloud phone instance.
A: First confirm you are using the account that created the instance, then pull down to refresh the device list. If it still does not appear, log out and back in, or contact official support to check the account status.
Q: Do apps inside the cloud phone sync with my local phone?
A: No, there is no automatic sync. The cloud phone is a separate device, so apps, galleries and login states must be set up inside it.
Q: What should I adjust first when the screen lags?
A: Check in this order: network stability, then the network node, then the quality level. Most lag is solved by switching lines or lowering quality.
Q: How do I recover if I mess up the basic settings?
A: Restore the default quality and key layout in the instance settings, or create a new instance and configure it again using the recommended values above.
Final thoughts
Getting started with the cloud phone Android client is easier than most people expect: download the app, log in, open an instance, then tune quality and virtual keys. That is all it takes to use it normally. What really pays off is spending a few days adjusting network lines and runtime settings for your own use case until you find the most comfortable configuration.