

What to Do Before Deleting Your Cloud Phone Account: A Data Cleanup and Backup Checklist
Why You Must Prepare Before Deleting Your Account
Many people assume that deleting a cloud phone account is as simple as tapping a delete button. In reality, the account often holds a great deal of personal value: chat histories, game characters and gear, work files, and the phone number and email linked to it. Once the deletion request is submitted, cloud data is usually wiped and cannot be recovered. So before you act, spend ten minutes going through the checklist in this article, item by item, and you will never have to look back with regret.
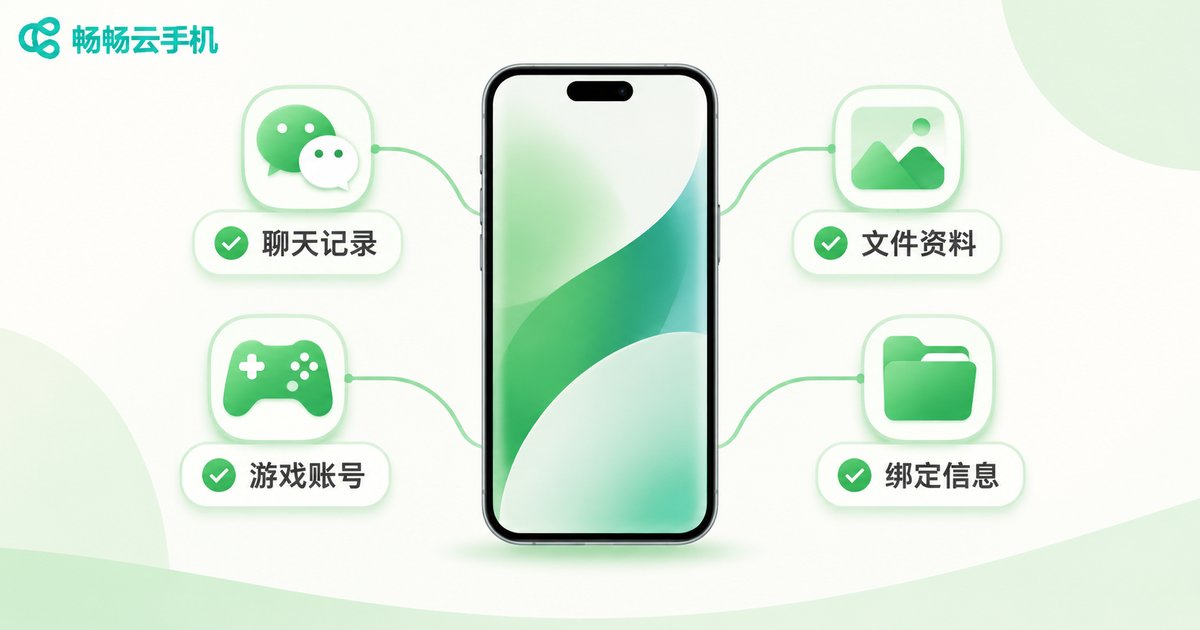
Step 1: Take Inventory of the Important Data in Your Account
Start with one question: what exactly is stored on this cloud phone? Grab a piece of paper or open your notes app and go through the categories below one by one:
| Data Type | Common Contents | What to Do |
|---|---|---|
| Chat histories | Important conversations in social and work groups | Export or migrate within the app |
| Game assets | Characters, gear, top-up records | Confirm how the account is bound |
| Files | Documents, photos, videos, installers | Transfer back to a local device |
| Linked info | Phone number, email, third-party authorizations | Unbind or rebind |
Pay special attention to accounts registered only with a phone number and no email — these are the hardest to recover once lost.
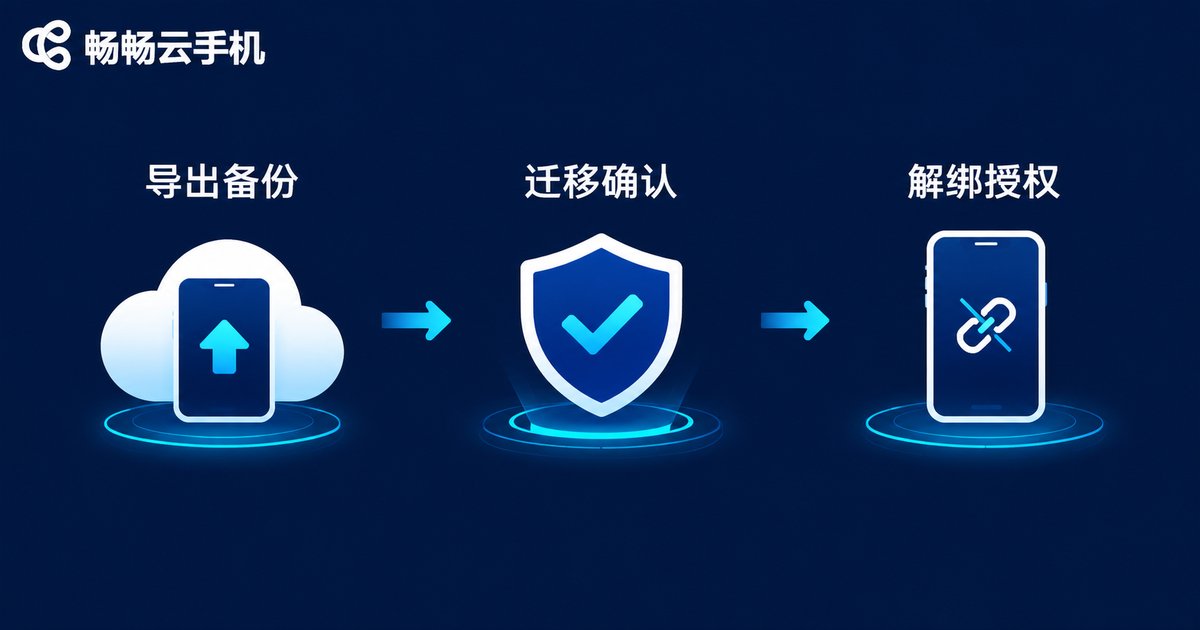
Step 2: Back Up Important Data to a Local Device
The rule of thumb is simple: export whatever can be exported, and migrate whatever can be migrated.
Chat histories: use the backup-and-migrate feature inside each app to sync conversations to a new device or the cloud, and confirm the restore works before moving on.
Files: transfer documents, photos, and videos stored on the cloud phone back to your physical phone or computer through the app's built-in file transfer or a cloud drive.
Game accounts: make sure each game is bound to a phone number or email — not merely a login session inside the cloud phone. Rebind to your usual contact details if necessary, and write down your account ID.
Step 3: Unbind Your Phone Number, Email, and Third-Party Authorizations
This step is the most frequently overlooked, yet it directly affects your future account security. Open the account-and-security settings and check each item:
Phone number: if you plan to keep using this number, rebind or unbind it first so it does not interfere with signing up for other services later.
Email: confirm whether it is unbound as well, so you do not miss important messages after deletion.
Third-party authorizations: check whether you have used WeChat, QQ, or similar accounts to sign in to apps, then revoke those authorizations or switch to email-and-password login.
Step 4: Clean Up Privacy and Sensitive Information
If you have used the cloud phone for banking, shopping, or social accounts, do a digital deep-clean before deletion to reduce leftover traces: sign out of every logged-in account; clear browser history, cache, and saved passwords; delete messages and files containing verification codes, ID photos, or other sensitive content. Once this is done, even if the data is accessed after deletion, the risk drops dramatically.
Step 5: Confirm Your Plan, Balance, and the Deletion Process
If you have purchased a cloud phone plan or still have remaining hours, find out how those benefits will be handled before deleting. With ccloudphone, for example, you can check your current plan status and remaining resources in the personal center and follow the on-screen instructions before submitting the deletion request, so nothing goes to waste. Always follow the instructions inside the official ccloudphone app for the deletion entry point and process, and contact official customer support if in doubt — never trust third-party deletion agents, which can put your account at risk.

The Final Pre-Deletion Checklist
Before submitting the deletion request, run through the table below one last time. Once every item is done, you can proceed with confidence:
| Check Item | Done When |
|---|---|
| Important chats backed up | They open correctly on the new device |
| Files transferred locally | Viewable and openable on your local device |
| Game bindings confirmed | Phone number or email can log in independently |
| Phone and email unbound | No longer linked in security settings |
| Third-party authorizations revoked | Authorization list is empty |
| Privacy data cleaned | Signed out everywhere, records cleared |
| Plan and balance confirmed | Handled via the official process |
Can You Change Your Mind After Deleting?
Many platforms offer a cooling-off period after deletion, but during that period the cloud phone is usually already inaccessible and the data may be queued for removal — so do not count on changing your mind. One more tip: if you are simply not using the service right now, or you want to switch devices or run several accounts, you do not necessarily need to delete your account at all. ccloudphone, for instance, lets multiple cloud phones run independently, so you can scale up or down on demand — far less costly than deleting everything and starting over. Think it through before you act; that is always the safest approach.
FAQ
Q: Can data be recovered after a cloud phone account is deleted?
Generally, no. Deletion usually means the cloud data is wiped, and platforms do not promise to keep backups — which is why the backup steps above are non-negotiable.
Q: Do I need a computer to back up chat histories?
Not necessarily. Most apps support phone-to-phone migration or cloud backup; just follow the in-app instructions. The key is to verify the backup on the new device.
Q: I deleted my account but forgot to unbind my phone number. What now?
Contact the platform's customer support right away and ask how the number release is handled; afterwards, watch for unusual verification codes when registering new services with that number.
Q: I am only pausing my cloud phone usage — do I really need to delete the account?
No. Keep the account if you may come back; if you are worried about stored information, just clean up sensitive data following this checklist. Only go through the full deletion process when you are sure you are leaving for good.